With the paints and conditions we have to work with it sometimes it can be really difficult to get the desired finish we are looking for on our models. Sometimes it comes out cloudy, while another one may have a rough sprinkled-sugar look to it. Let’s look at how we can fix these paint jobs with a little effort. Cut refers to cutting down the bumps or flaws in the paint. Polish covers repainting and polishing to a smooth finish.
To cut and polish a model kit vehicle, use a rubbing compound to get the paint smooth. When it is smooth use a glaze to make it shine. Another popular method is to wet sand with 3200/3600/4000/6000, maybe 8K and 12K Micromesh for dark colors, followed by a liquid polishing compound.
Biggest Reasons To Cut And Polish A Model
The number one reason to cut and polish a model is orange peel in the paint followed by taking out runs, removing paint scratches and swirl marks, removing overspray, and creating an overall smooth surface. These issues can all be repaired with sand paper and polish.
It’s not very often you will hear someone say that their paint job turned out perfect the first try and they don’t have any problem areas to touch up. If someone does say that it’s because of the lower standards they have set for their finished model. If we want that off the show room floor look it’s going to take a little more work.
I have a lot of models I have completed over the years that I keep thinking I should pull the body off and redo the paint to get a smoother paint job on them.That’s because as we progress in this hobby our standards of what we will accept in our paint finishes changes and we will only accept a better finish in our completed models.
Materials Needed To Cut And Polish A Model
If the finish is orange peeled or cloudy wet sanding with 3200/3600/4000/6000 works well, then use 8K and 12K Micromesh. Liquid compounds such as Turtle Wax Premium Grade Rubbing Compound, Meguiars Scratch X and Novus7100 Plastic Polish kit are great to use after sanding.
In doing my research I picked the best products that will get you from start to finish in your cut and polish project. They are all highly recommended products in all the forums I searched.
| Product Name | How To Use | Approx. Cost of Product |
| Micro-Mesh Model Polishing Kit | Complete Start To Finish Kit | $24 Amazon |
| Novus 7100 Plastic Polish Kit | Final Polishing | $13 Amazon |
| Grit 1500 2000 2500 3000 5000 7000 Paper | Initial Wet/Dry Sanding | $12 Amazon |
| 3M Finesse-It II Finishing Material | Final Polishing | $40 Amazon |
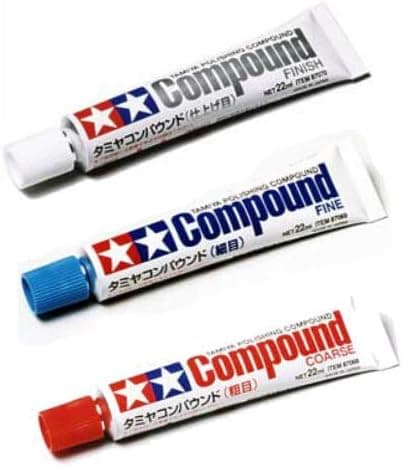
| TAMIYA Polishing Compound Fine and Finish Set | Final Polishing | $18 Amazon |
| Anezus 90Pieces Sandpaper Assortment 400 to 3000 5000 7000 | Initial Wet/Dry Sanding | $13 Amazon |
| Turtle Wax Premium Grade Rubbing Compound | Rub Before Final Polish | $7 Amazon |
| Meguiar’s M8532 Mirror Glaze Diamond Cut Compound | Rub Before Final Polish | $22 Amazon |
| Buffmaster Microfiber Polish and Buffing Towels | Polishing with Compound | $23 Amazon |
How To Cut And Polish A Model
Start by sanding with 2000 grit wet/dry sanding paper, then 2400 grit and last 4000 grit wet/dry sand paper. Next sand in a swirling motion using a 10,000 to 12000 grit sand sponge. Next use a course rubbing compound followed by fine compound and then a finish compound.
If you’re going to be aggressive with your cut and polish you want to have at least three coats of clear and possibly four if you are sanding out orange peel or runs. This will give you enough thickness that you can start with 2000 grit and work up to 4000 grit sandpaper.
You will use the sanding sponges next. Sand sponges work very well to get the finish ready for the rubbing compounds. Use a swirling motion when using the sanding sponges to give it a smoother finish. You can start with 6000, go to 8000, and then 10000 to get a real smooth finish before the rubbing compounds.
Use a microfiber soft cloth when using the rubbing compounds to get the smoothest finish. They are not expensive and are well worth having. Use each compound in succession by rubbing in a swirling motion without applying to much pressure. Buff with a clean dry cloth and sit back and admire the finish.
It would be a great idea if you have extra parts or a piece of plastic to practice on first. You will quickly get a feel for the sanding process and the the polishing. Practice, practice, practice.
Final Thoughts
To do a cut and polish sounds like it would take a lot of time and effort but thats for a full sized car. You can do a complete model in less than thirty minutes if you have all of your materials together before starting. The results are amazing and the products you purchase will last for lots and lots of models. There are a lot of examples on forums that experienced modelers have cut and polished if you want to see some examples. Remember, it’s just plastic and you can always reshoot and do it again. Happy Modeling!
Related Topics
How do you paint a plastic model kit?
- Wash the parts in warm soapy water.
- Base coat with primer.
- Sand the primer with a very fine grit sand paper.
- Stir paint before painting.
- Brush paint the model.
- Use a spray can in light layers before heavier.
- Use an airbrush.
How do you glue model kits?
- Clean up parts with warm soapy water.
- Always do a dry run to insure parts fit together.
- Choose your glue: The type of glue will depend on the size of the parts, how well they fit and how long you need to work with the part to get it in the right position.
- Make sure that you have the necessary supports: right number and size of rubber band, Check you have the right size clamps and they are unscrewed. Cut sufficient strips of masking tape of the right length and width.
Some Of my Favorites
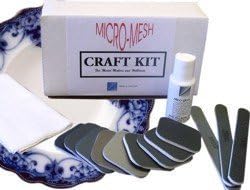
Micro-Mesh Model Polishing Kit
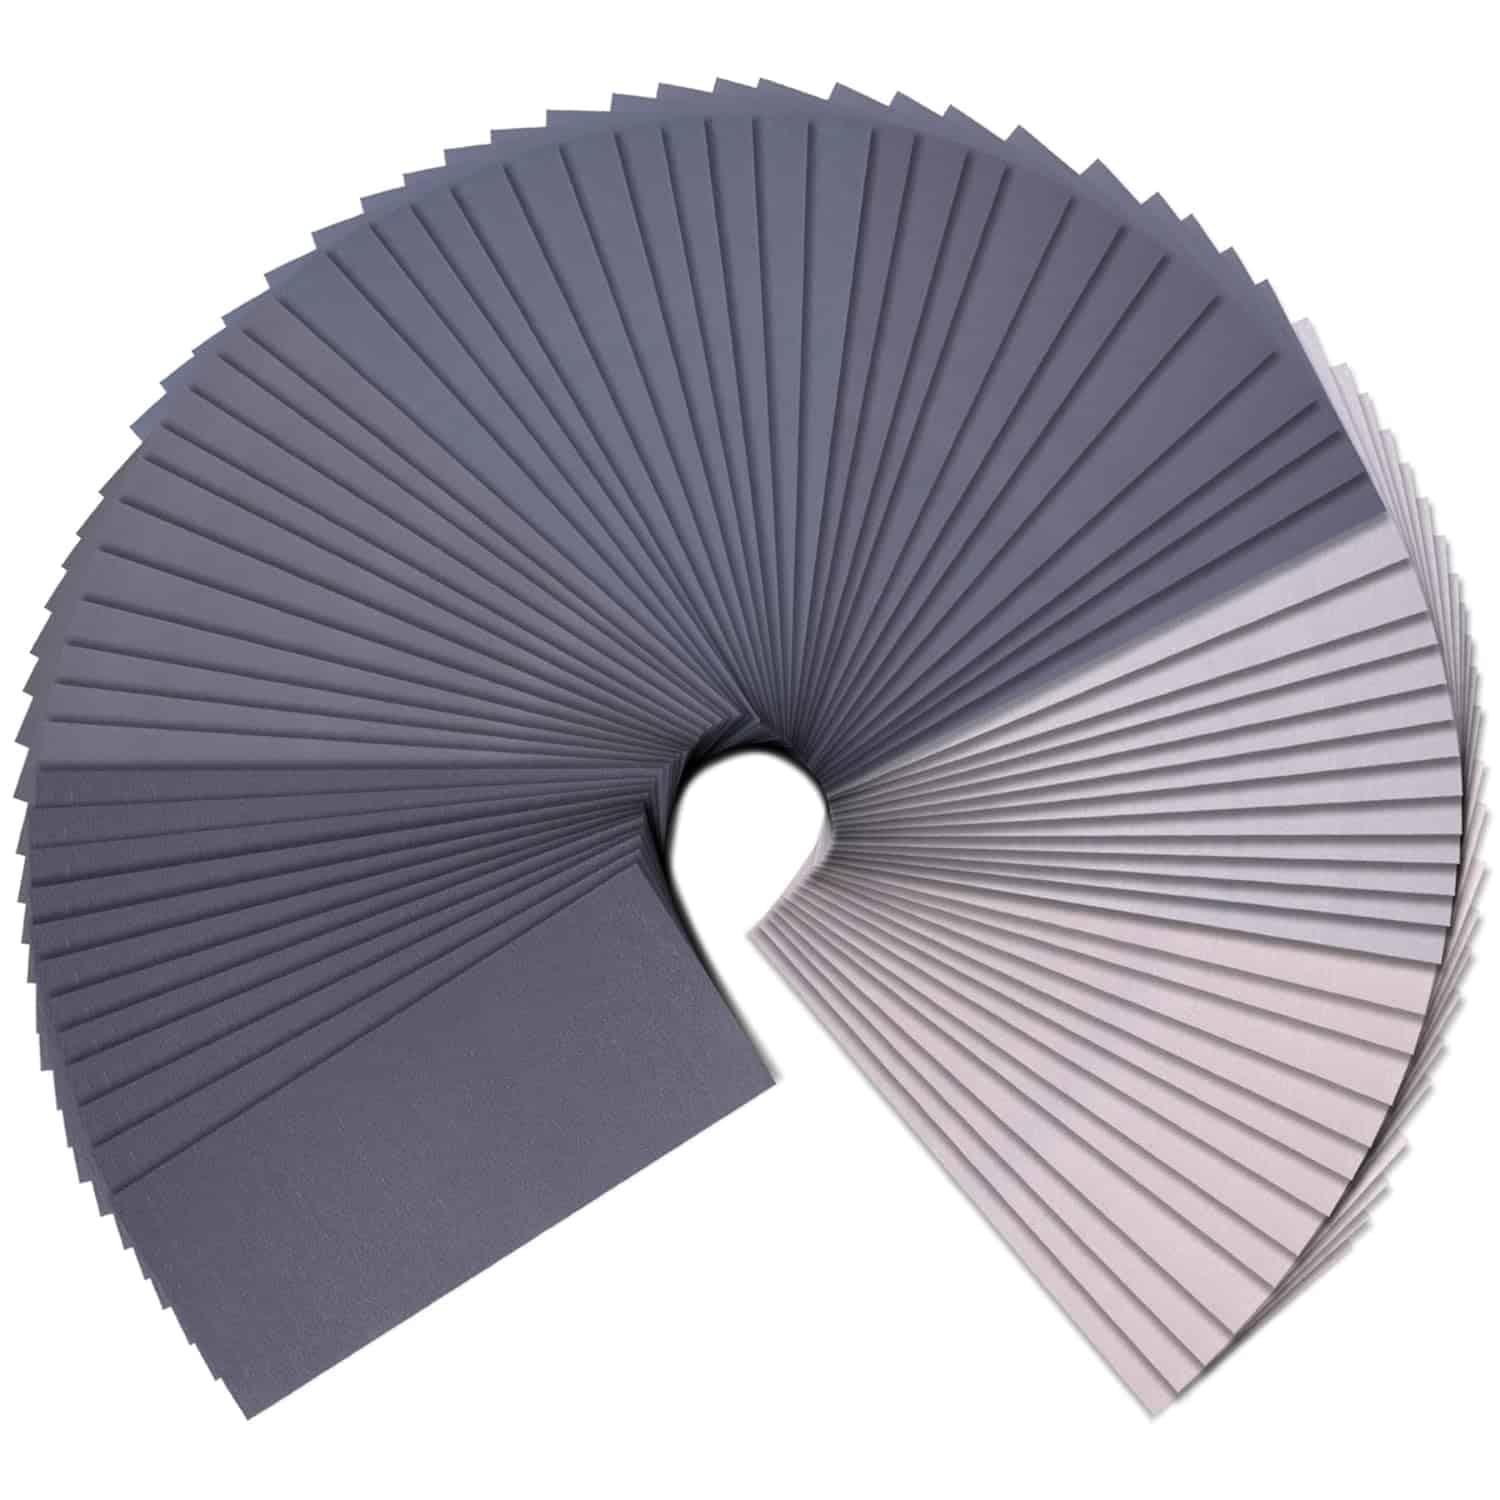
Fine grit sandpaper assortment
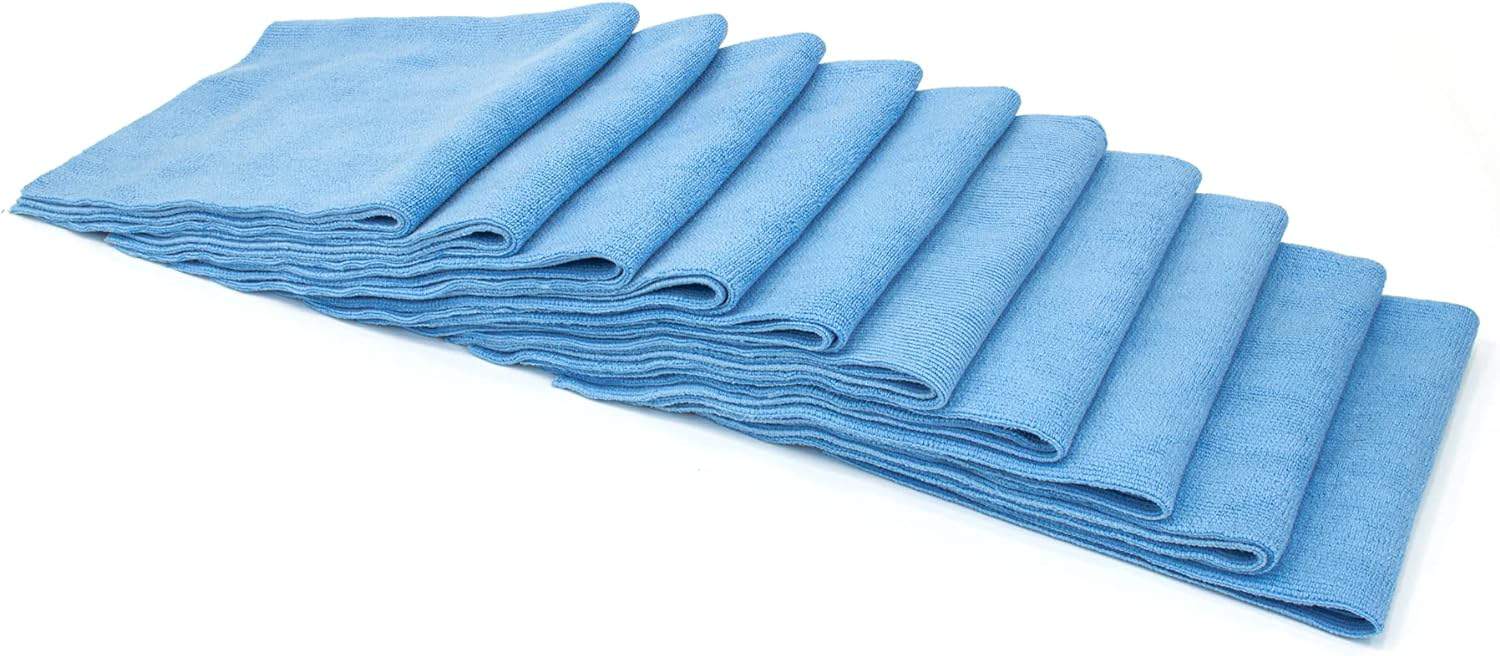
Buffmaster Microfiber Polish and Buffing Towels