Painting is one of the most important parts of building your model. Whether you are following the instructions or making your own creation, a model can become a real eye catcher when it is painted. Now you need to pick how you will paint it, what type of paint you will use and the colors you would like it to be.
Here are seven easy steps to follow for a great model kit paint job.
- Wash the parts in warm soapy water.
- Base coat with primer.
- Sand the primer with a very fine grit sand paper.
- Stir paint before painting.
- Brush paint the model or
- Use a spray can in light layers before heavier or
- Use an airbrush for the perfect paint job.
Cleaning All The Parts

Good preparation is the key to a smooth paint job. Make sure that your surfaces are completely free from dust and grease because the plastic parts will have a residue from the moulding process.
This is the oil that helps to separate the moulded plastic parts from the metal mould in the factory. This can be done easily by first washing the plastic trees in warm water with some dish-washing detergent.
Watch for any small parts that may get broken off during the cleaning process. Allow parts to completely dry before handling.
Just before it’s time for the main paintwork, wash the assembled model a second time and let it dry for a day. This second washing will clean away oils and dust.
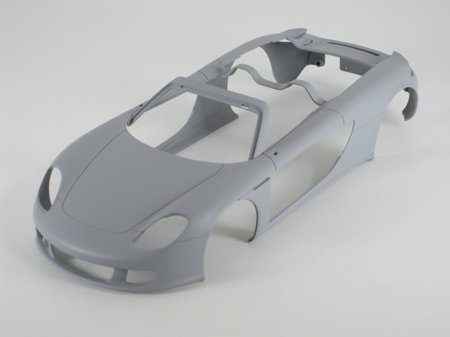
Why Base Coat My Model Kit With Primer?
A primer coat is essential to achieve a good paint job. Primer is necessary to find the imperfections and rough areas that may need more sanding. When painting a model in a similar color as the color the model was molded in, you want to prime it a different color so you will see light or missed spots.
There are many priming paints available that are good at hiding minor scratches and surface imperfections. You should also use a light grey or white enamel paint as a primer. Using a light color or you will find it much harder to get the final paint to cover the primer layer.
I would recommend that you use an enamel based primer, as these tend to stick to bare plastic a lot better than water-based paints.
How To Sand And Prepare The Primer For Paint
After the primer layer has fully dried (after at least 24 hours), you should gently sand the paint with a very fine grit sandpaper (2000 grit) using a lot of water to keep it from scratching the model surface.. I usually use a worn wet-and-dry sandpaper to carefully sand or rub the paint.
Lightly sanding the primer gets rid off all the minor lumps and bumps that may be present on the surface, and it also makes a lot better base for the final paintwork.
Stir and Prepare The Paint
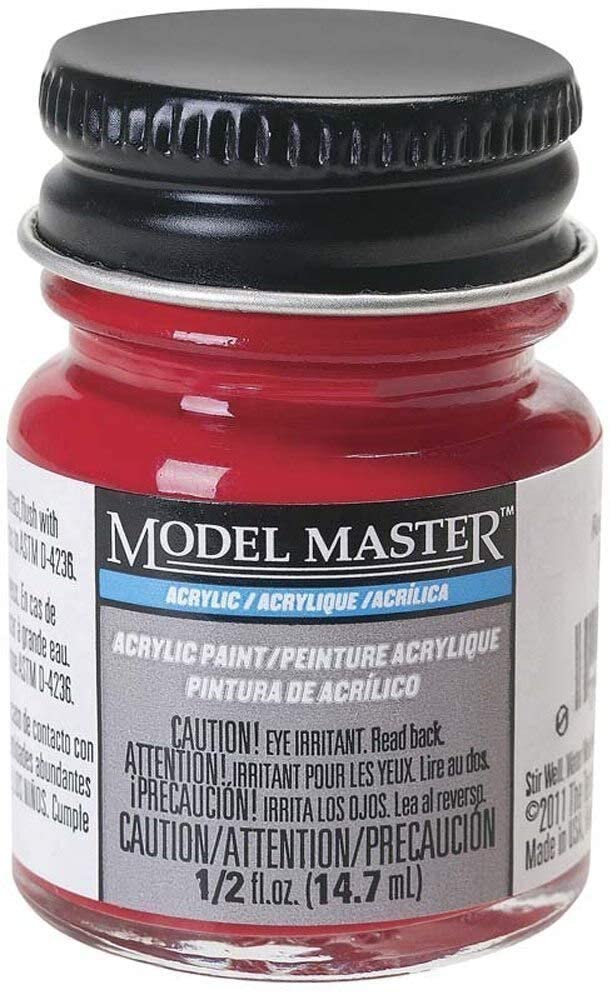
Paints must always be stirred before use to allow the contents to mix with each other. Stir the paint firmly with a toothpick, a plastic stick or a small wooden spatula for approximately one minute. Shaking the bottle is not good as it lets air bubbles into the paint.
Make sure that the paint has the right consistency – for brush painting it should be somewhat thicker than milk.
You will want to be sure that you keep the edge of the paint container clean with a cloth so that the lid will close firmly when you have finished.
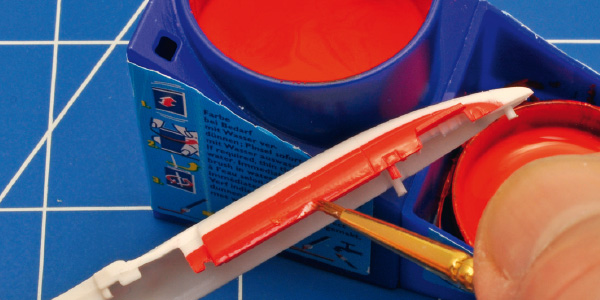
How To Brush Paint A Model Kit
As you get started it is easier to paint the smaller parts on the sprue and to remove them only after they have dried. Missed spots can be touched in after the parts are joined. You do not want to apply paint to the mating surfaces where you will eventually apply glue. Use good quality brushes.
You will want to invest in some good artist’s paintbrushes, not those cheap paintbrushes we all used as kids. It will be well worth the extra money spent.
You can make holders for yourself using clothes pins, cocktail sticks pushed into foam or you can secure your ‘handle’ onto areas that cannot be seen on a piece of waste sprue. There are also part holders you can purchase in craft stores or hobby sites.
As you paint try to move the brush in only one direction, if your paint has the right consistency, the brush strokes will disappear as the paint dries. Don’t paint back and forth, or you will end up with ugly and visible brush marks.
Paint in several thin layers rather than in one thick, allowing to dry well between coats. Large areas are very difficult to paint evenly using a brush. Build up color in several lighter layers, rather than a single, heavy one, as this can cover up detail. Work from light to dark as darker colors can ‘bleed’ through lighter ones.
How To Paint A Model With A Spray Can
Keep the can approximately 12 inches from the model as you spray light consistent stokes, careful not to get it on too heavy that it will run. You need to shake the can every few minutes to keep a consistent color. Let dry 30 minutes before applying the second even coat. Then allow 24 hours before handling.
Spraying paint with a can gives you a smoother overall finish with no brush strokes and if you’ve done it right, even coverage. For modelers who want to avoid the investment of time and money in an airbrush, spray cans can produce acceptable results.
The paint will spray more even and stick better if it’s warmed. Sit the can in warm water till it reaches room temperature. The contents are under pressure so be careful, overheating may cause the can to explode, causing serious damage or injury.
An OSHA-rated two-canister mask is recommended as there are harmful odors and particles in the paint. The fumes are flammable so be careful where you paint, keeping away from any open flames. Ensure you have ample ventilation in your painting area.
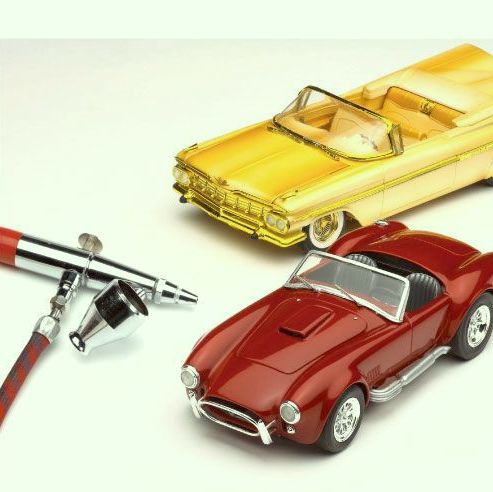
Why Use An Airbrush On A Model Kit
It’s the most precise way to paint as you can vary the pressure, adjust the spray pattern, mix your own colors, and build a finish in fine, thin layers. You can blend the edges and achieve other effects that look more to scale than heavier applications with a brush or a spray can.

To begin airbrushing, you will need an airbrush and an air source like an air compressor. In addition, you’ll want a regulator (to control the pressure). You will need an inline moisture trap that will prevent condensation in the line from reaching your model.
You will need to get a piece of plastic like a milk jug or whip cream tub to practice on. Follow the instructions carefully and practice, practice, practice.
| Type of Painting | Pros | Cons | Skill Level | Approx. Costs |
| Fine Point Brush | Inexpensive | Not Smooth, Tedious | Easy | Starter Kit $25.00 |
| Spray Can | Inexpensive | Odors, Toxic | Medium | $4 to $8 Per Can |
| Airbrushing | Expensive for Good Equip. | Odors, Toxic | Medium to Hard | $150 For a Starter Kit |
| Paint Washes | Medium expensive | Can Have Toxic Odors | Medium to Hard | $30 to $40 For a Wash Paint Kit |
For more info on getting started with airbrush painting check out this post
Final Thoughts
Painting a model can be very challenging as well as very gratifying. It is a skill that you will see vast improvement in with the completion of each model you build. Take pride in your accomplishment and move on to your next model.
Happy Modeling!
Related Topics
Airbrush trouble shooting:
- Sputtering is caused by too low of air pressure.
- Orange peel affect is caused by low pressure or holding the sprayer too far back.
- Running paint is caused by simply applying too much paint or painting too close. Avoid this by spraying more thin layers.
- Clogging the tip is caused by too thick of paint. Thin it so it flows better.
Spray can trouble shooting:
- Pebbly, rough finish is caused by spraying from too far away. Move closer.
- Runs and drips are caused by too much paint, either because you sprayed from too close or for too long in the same spot. Move back and keep the can moving when you spray.
- “Fish eyes” or paint pulling away from areas is caused by surface contaminants pushing through or repelling the paint. Clean the model thoroughly before painting.
Leave a reply