
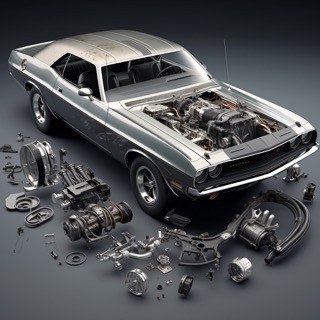
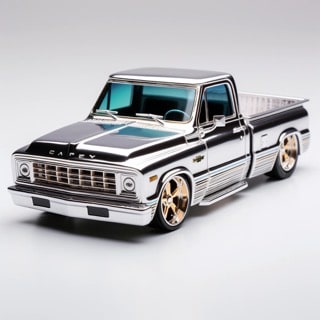
Do you ever wish your model kits included more chrome parts, or that the chrome parts included were of a better quality? There are products on the market today that can emulate pretty closely the chrome on the car in your garage. Follow along as we take a look at the best chrome products available and how to use them.
You can make any model kit part chrome by having the part well prepped and using a good quality chrome paint. The part needs to be clean and free of old paint or chrome. Use a good quality chrome finish like Testor Corp. Chrome Silver, AK Interactive, Alclad II, Molotow Liquid Chrome Markers and other top brands.
Step 1: How To Prepare Model Parts For Chrome
Use a solution like Super Clean degreaser, Formula 409, or Purple Power, to clean the surface and remove old paint or chrome. After soaking in one of the solutions for a few hours lightly brush off the remaining chrome or paint. Clean in soapy water, rinse and dry to prepare for primer.
Having a smooth, clean dry surface is the most important step in chroming a model kit part. Any old chrome or paint will cause the primer and chrome to not adhere well to the plastic and give it s rough finish. Any oil from our hands will also cause a problem with adhesion.
If you have any concern of old paint or residue still being on the part, sand it smooth with a 320 grit wet/dry sandpaper. Clean and rinse again, then thoroughly dry. This is a good time to wear protective gloves (like these Med-Pride Nitrile gloves) to keep finger prints and oils from contaminating the surface.
Choose a good brand of primer. Is there one that you have used before and have confidence in? Spray two or three light coats without making the primer too thick or it may cover some of the finer details of the parts. Here are a few good primers to choose from:
- Krylon Ultraflat Primer
- Seymour Professional Primer
- Army Painter Brush-On Primer
- Vallejo Surface Acrylic Primer
- TAMIYA Gray Fine Surface Primer
- Badger Airbrush Primer
- Rust-Oleum Automotive Primer
Priming is important, for a variety of reasons. Primer is used to prepare a surface for finished paint. It helps you spot problem areas before the color is applied. It provides a sandable surface for the painter to finesse the sanding/finishing
of bodywork — Build Better Model Cars Jan 2011
Best Model Kit Chrome Finishes
There are lots of different chrome paints and finishes on the market today Here are some top choices including cost, size, and how they are applied:
| Paint Brand | Approx. Cost | Type | Size |
| Spaz Stix Ultimate Mirror Chrome | $15 | Airbrush | 2 oz |
| Tamiya America, Inc Acrylic X11 | $4 | Brush | 0.77 oz |
| Testors Model Master Enamel Chrome | $11 | Brush | 1/2 oz |
| Molotow Liquid Chrome pens, set of 3 sizes | $20 | Pen | 1, 2, 4 mm |
| Alclad II | $11 | Brush | 1oz |
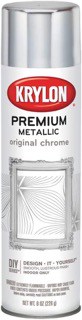
| Krylon Original Chrome | $9 | Spray Can | 8 oz |
| Vallejo Chrome Metal Color | $8 | Brush | 32 ml |
| Mr Color Metallic Silver | $7 | Brush | 10 ml |
| Alclad II Chrome for Plastics | $35 | Airbrush | 4 oz |
| Chrome Bare-Metal Foil | $15 | Sheet | 6″ x 12″ |
These chrome finishes are all from good name brand paint companies. The spray cans will work better than the brush paints in certain situations, while brushing will work better than spraying on the smaller parts. Airbrushed paint is the top of the line finish.

Step 2: How To Paint Chrome On Model Kit Parts
When the part is clean of old paint, chrome, oils, and any foreign particles, paint with a light coat to begin with. The second and third coat if needed can be put on as a wet coat. When brushing on chrome paint try not to make it so thick as to block the finer details of the parts.
It’s very important to have the parts clean of any old paint, chrome or foreign particles to insure a smooth finish. If needed sand the parts smooth with 320 grit wet/dry sandpaper to get as smooth as possible before spraying with primer. Any rough surface or bump will show up in the chrome finish. Prime, let dry thoroughly, then paint with brush, spray can, or airbrush.
After painting let the chrome completely dry before handling to keep from getting finger prints or marks in the finish. I usually dry for a minimum of 24 hours but if you are in a high humidity area, give the parts at least two days drying time.
Why Paint Model Kit Parts Chrome?
Some model kits you purchase do not include all of the chrome parts that you might want to dress up an engine, or don’t have the trim that you would like to be chrome. There are also times when the chrome included in a kit isn’t of the quality you desire or isn’t very life-like.
It wasn’t very many years ago that you had to settle for what came in the kit or you used a silver paint that looked more silver than chrome. I remember as a kid trying to use silver spray cans and brush on silvers but they never turned out very good. Now we have a lot of products to choose from that when applied correctly can give us a real life like chrome finish.
Final Thoughts
It’s fun to experiment with all these chrome paints we have to choose from. I get real good results touching up chrome pieces with the Molotow Liquid Chrome Pen. It’s a great help for all those small spots that need repaired after removing from the sprue. Experiment with a few types– spray or brush, to see which one gives you the finish you are looking for. The Tamiya America, Inc Acrylic X11 gets great reviews and raves in a lot of model forums. Pick a few and give them a try. Happy Modeling!
Related Topics
How do you fix a broken model kit part? Here are the steps to begin the repair.
- Lightly scrape the areas clean.
- File the ends of broken pieces so they fit square and glue them.
- If the part is large enough you can drill holes in the ends of pieces for small wire then butt the ends together with cement.
- Glue the parts and let dry for one hour before handling.
Is gorilla glue better than super glue for model kit building? Each has its advantages and disadvantages. You can use both super glue and gorilla glue on plastics. Super glue is able to adhere to the surface quickly, it is pretty equal in staying power as your average tube of gorilla glue. Super glue isn’t designed to adhere to smooth surfaces such as glass, whereas gorilla glue does. On the other hand, gorilla glue can be too slow to dry for model making.
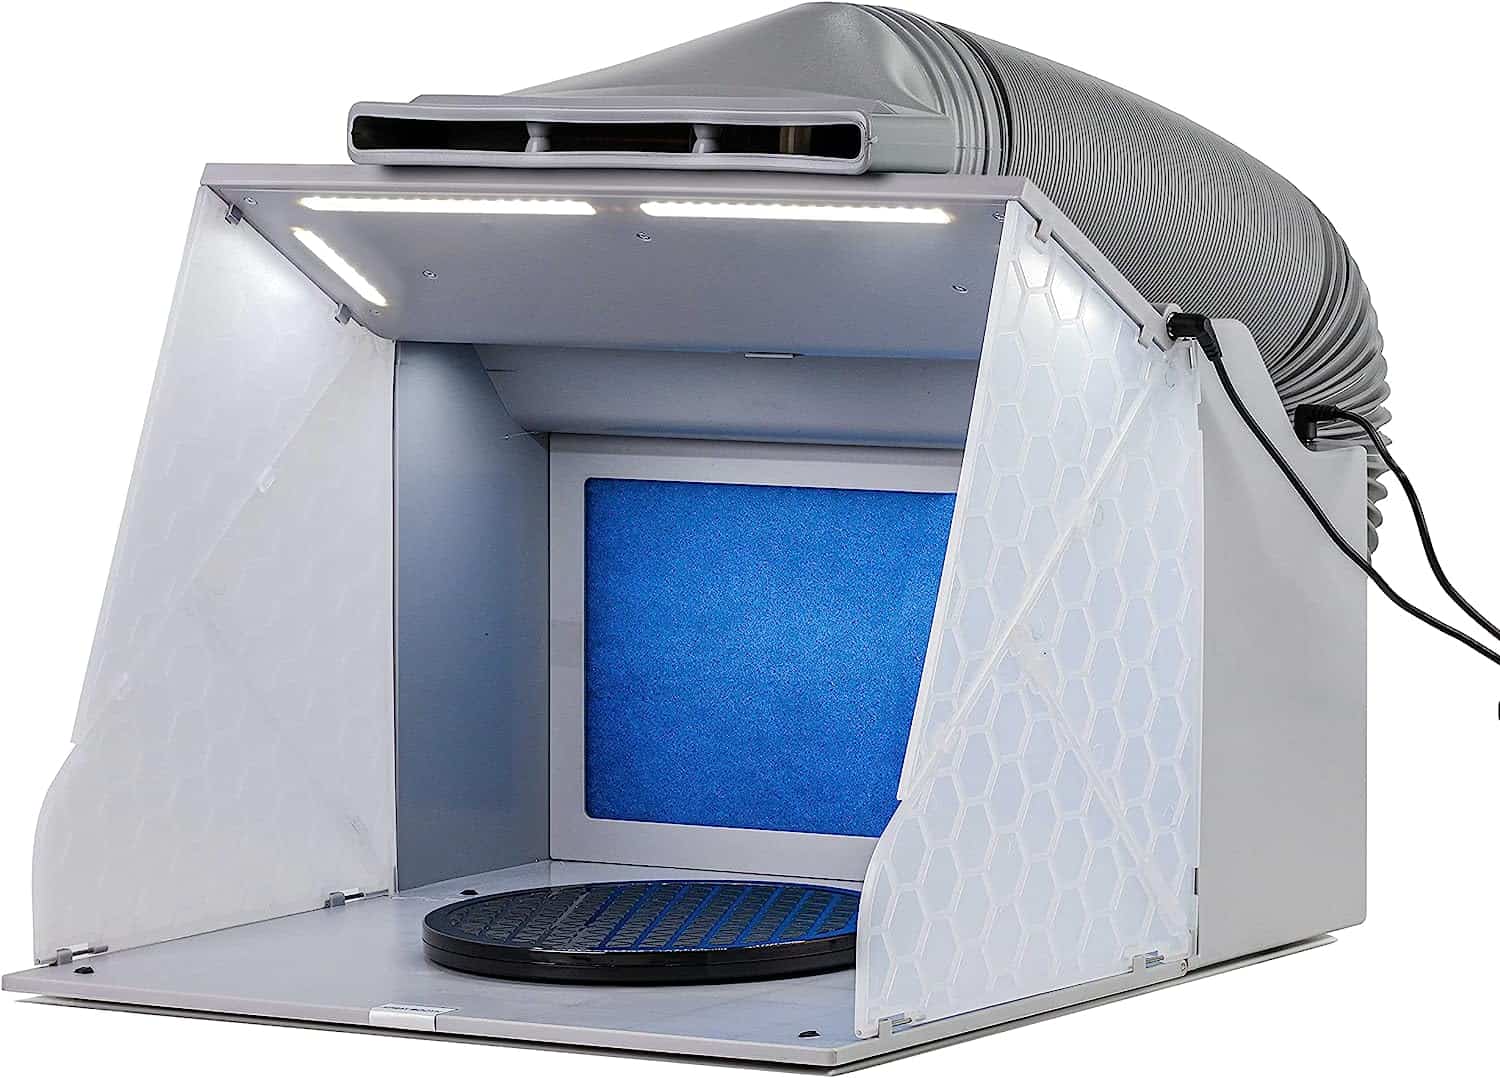
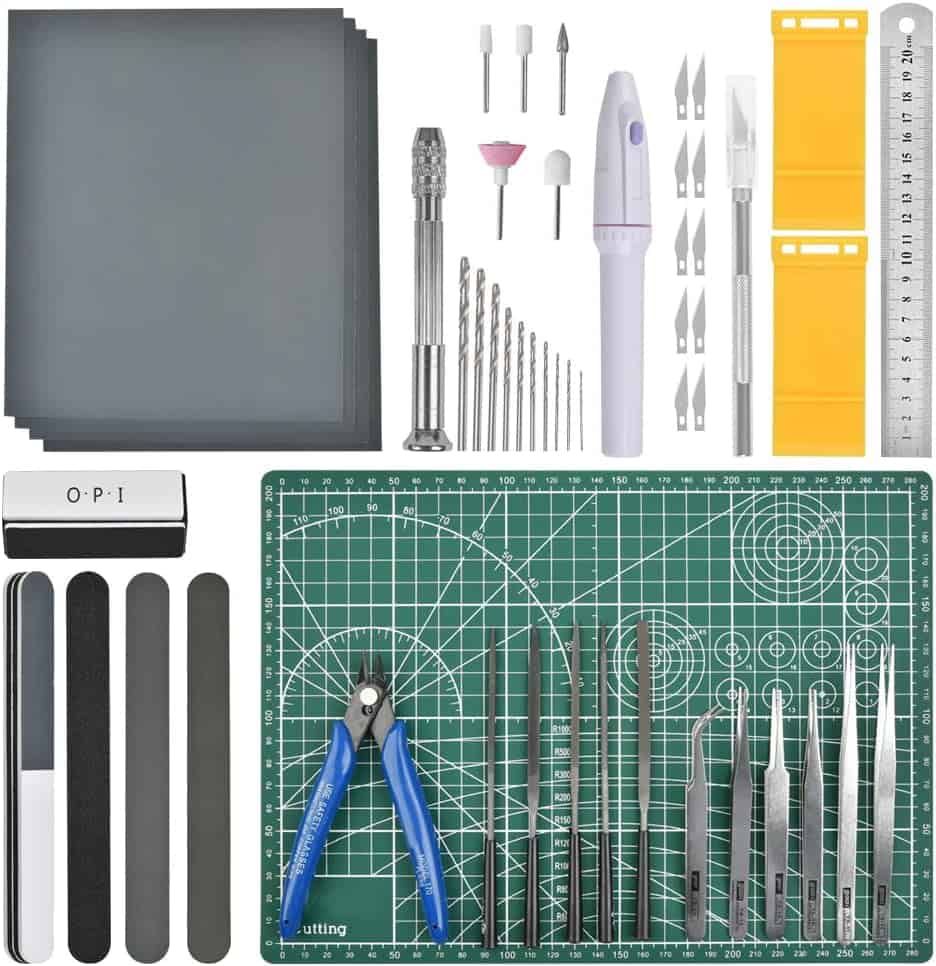
Some Of My Favorites
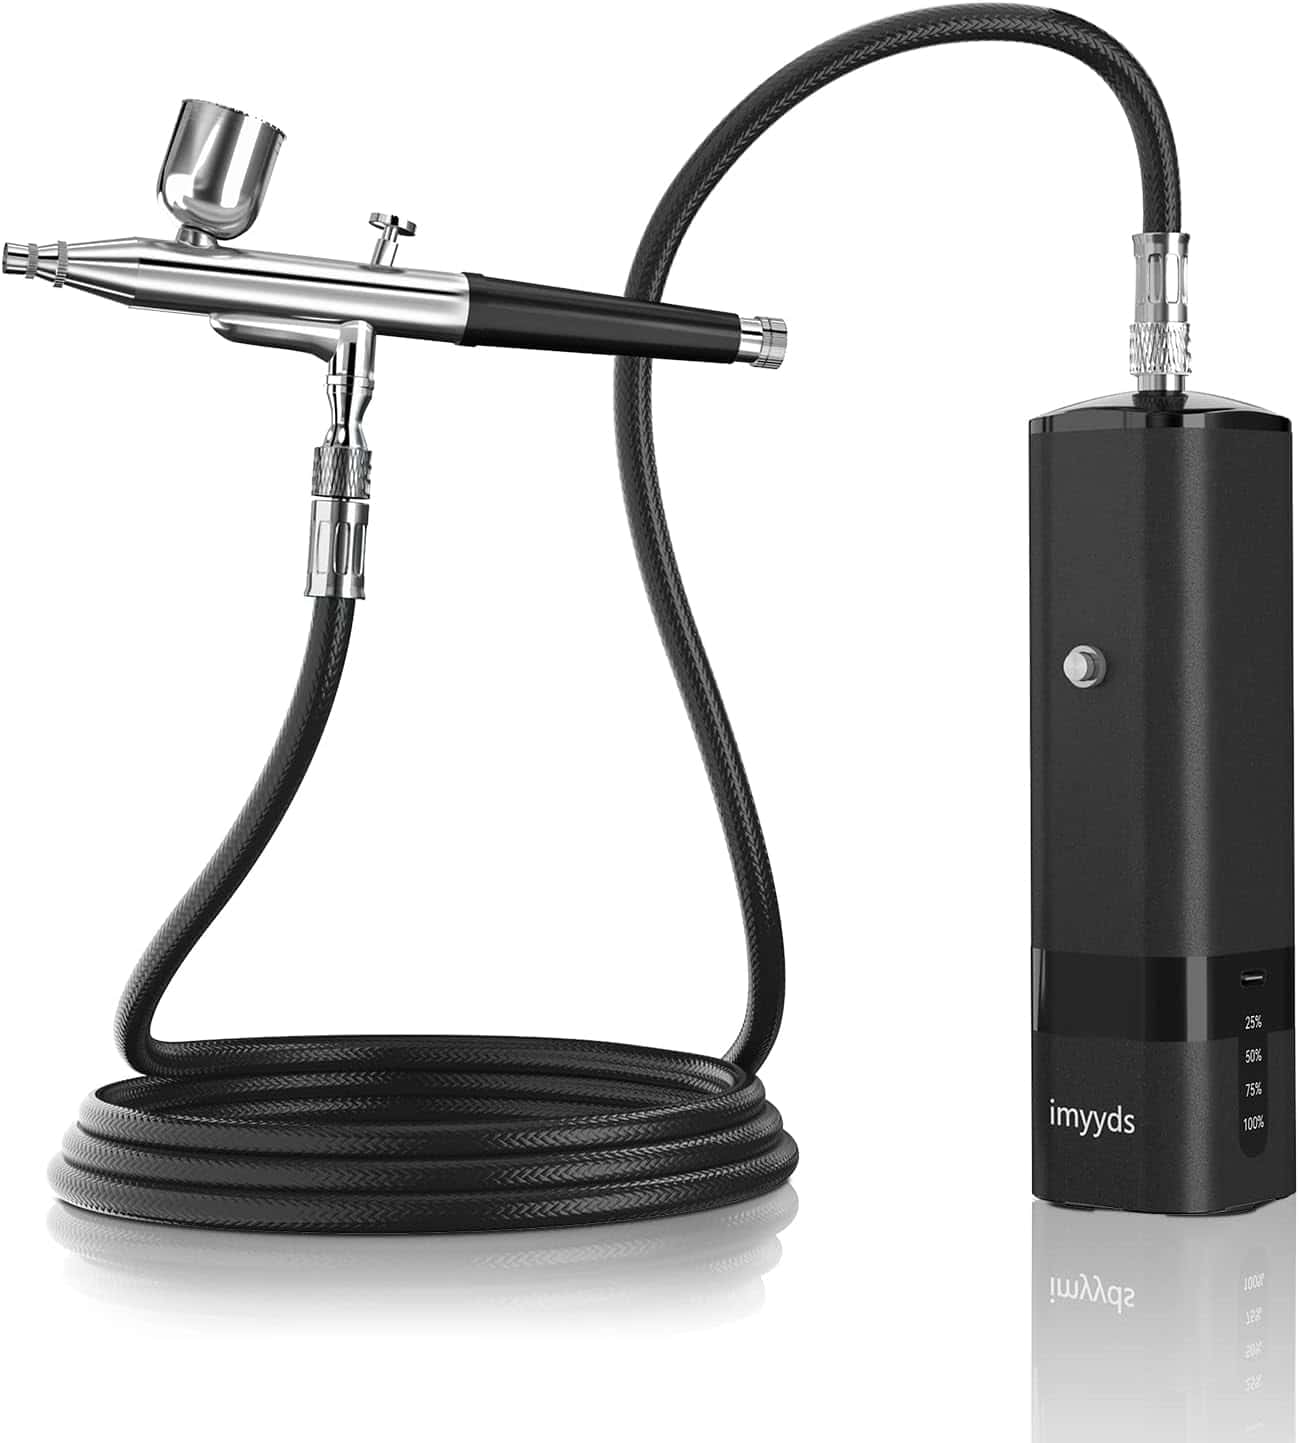
Imyyds Airbrush Kit with Compressor
Sources: Building Better Model Cars, January 2011, Cars (ISSN 978-0-
89024-808-91