When I started building models I didn’t have all the tools that I needed so it made it a lot harder than it needed to be. Since then I have added a lot of additional pieces to my modeling tool collection and it is now easier and more enjoyable.
The basic tools to get started are a hobby knife, side cutters, budget paint brushes, sanding sticks, sandpaper assortment, masking tape, rubber bands, toothpicks, tweezers, spray paint, paint set, thinner, model cement, scissors and a respirator mask.
As the models get more challenging a larger selection of tools can make the build easier and can take away some of the frustrations that can arise. Here are three levels that I have divided our purchases into.
Tools for Getting Started Building A Model Kit
- Hobby knife
- Budget paint brushes
- Sanding sticks
- Sandpaper assortment
- Masking tape
- Rubberbands
- Tweezers
- Spray paint
- Paint set ( from Amazon Testors kit with nine colors)
- Model cement
- Scissors
- Respirator mask
- Spruce nippers and cutters
- paint mask
Some of these items you will already have and the rest are easily purchased at hobby shops and discount and hardware stores.
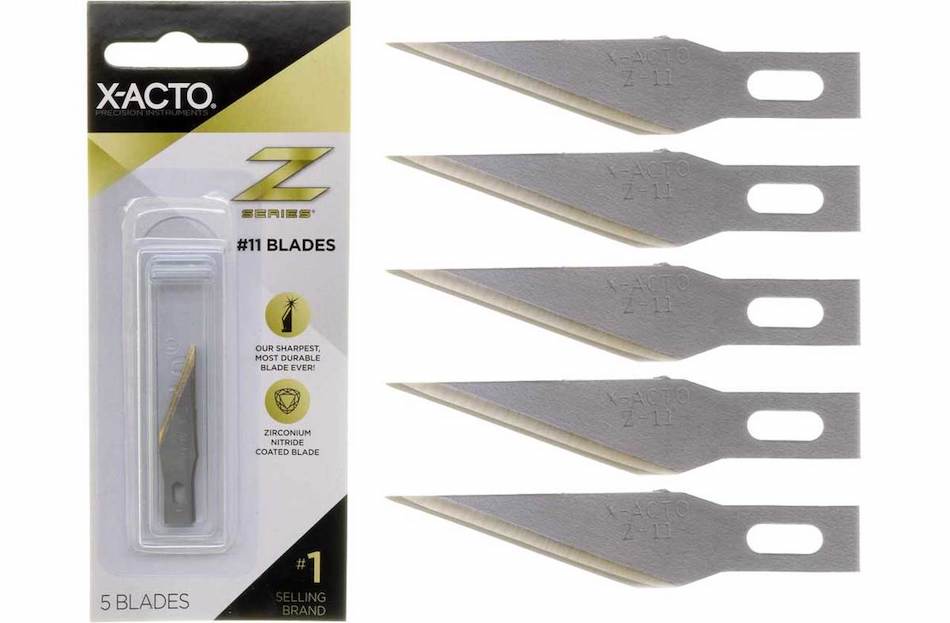
I like the exacto knife with the number eleven blade and a chisel blade. Xacto makes stainless steel blades that are denoted by an SS on the blade and they won’t rust like the regular ones. This will most likely be the most used tool in your arsenal as you can use it to trim and release parts.
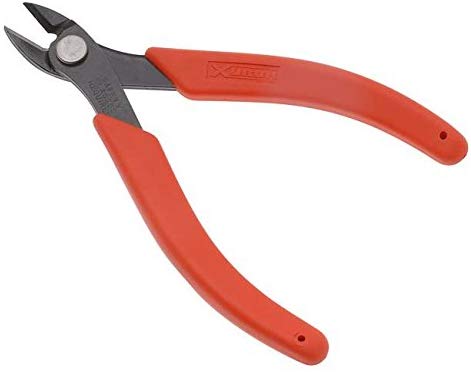
Invest in a good pair of Xuron cutters. These will last forever if you only use them on plastic. Get some flush-cutters as well for smaller parts.
You will need a few pair of self closing tweezers. These are very helpful in holding small and delicate parts and working with decals.
Sandpaper, and sanding sticks will help you clean up the kit’s parts, and a good set of small files will also be a big help in clearing off burrs and rough areas.
An inexpensive modeling cement is a good adhesive choice at this point; it dries slowly and lets you adjust the position of parts before it dries. It is easier to apply with tooth picks rather than squeezing it directly from the tube and keeps the glue where you want it.
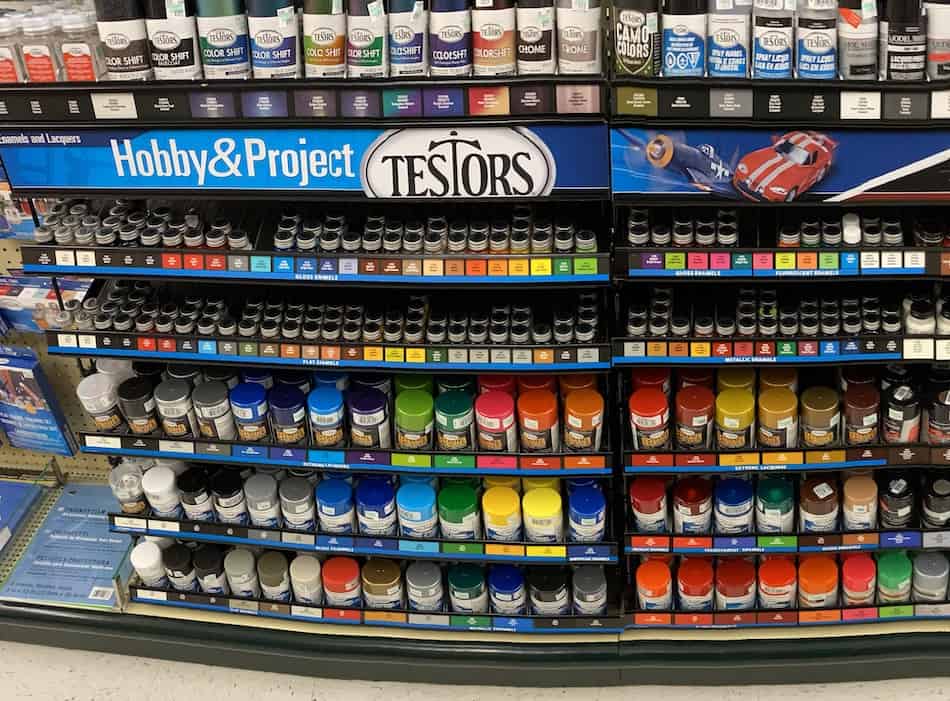
Testors is the biggest model paint supplier. They make a basic set of acrylic paints with nine of the most commonly used colors. This will give you plenty of color choices for under the hood and inside the car. If you need a color other than the nine supplied in the kit they are only about four dollars each and they last a long time.
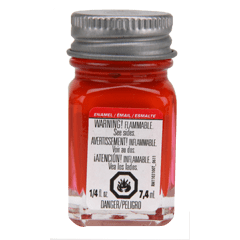
Using acrylic paints will let you clean your brushes easily with soap and water when you’ve finished painting. An expensive set of small paint brushes are very helpful with the small parts and details.
There are lots of spray-paint colors available for the model’s body. They even come in specific colors matched to specific factory-stock and racing-code finishes. I have been able to find the Mopar colors from the sixties and seventies which gives your model a more real look.
Before you start spraying, put on your respiratory protection: An OSHA-rated two-canister mask is recommended. Remember, the fumes are flammable; don’t spray near an open flame (such as a pilot light). Ensure you have ample ventilation in your painting area.
I have tried painting in my garage without a mask or booth and it can be done but its not a very pleasant experience. My sinuses hurt for a couple of days and the garage smelled like spray paint for a week. I would highly recommend a good mask and booth along with good ventilation.
This list of items will get you up and running as a serious model builder beyond just gluing and painting. With these tools and supplies you’ll be able to construct a few good-looking replicas while your modeling skills grow.
Tools For Intermediate Model Kit Builders
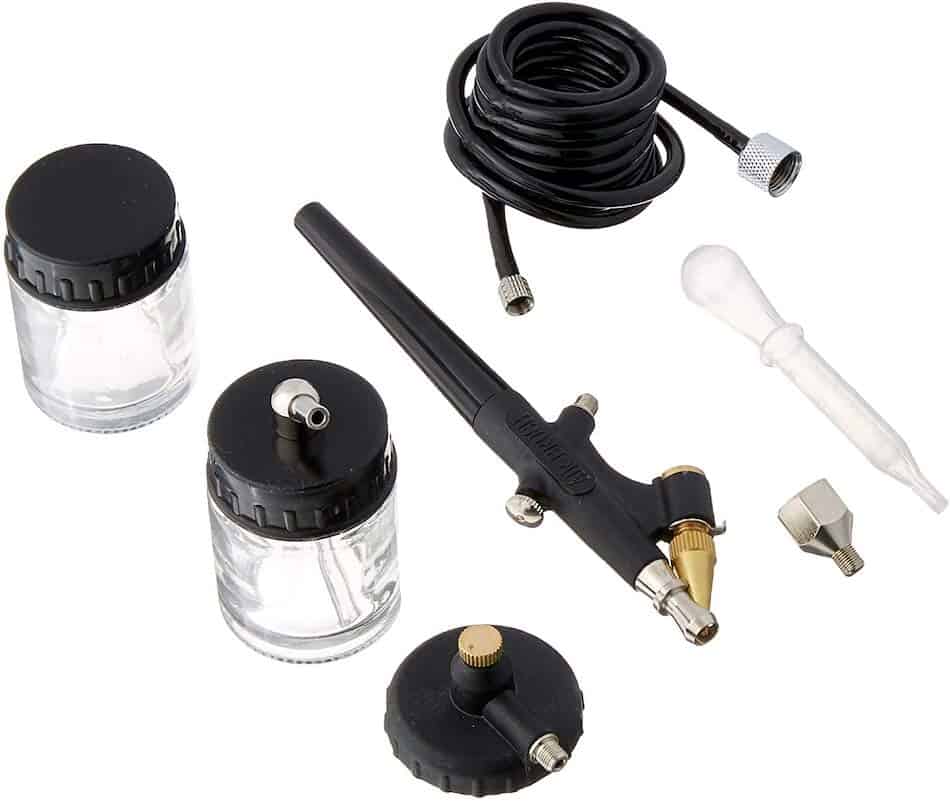
- Airbrush kit
- Airbrush thinner
- Lacquer thinner
- Superglue and superglue debonder
- Decal setting solution
- Polishing kit and wax
- Acrylic paints (more colors)
- Weathering set
These supplies will be a great help in building your skill level three, four and five model kits. This will get you up and running as a serious model builder beyond just cutting out parts and slapping them together with a little glue.
You will be investing a little more money but it still is a pretty inexpensive hobby. You will be able to use these tools in the more advanced level models too.
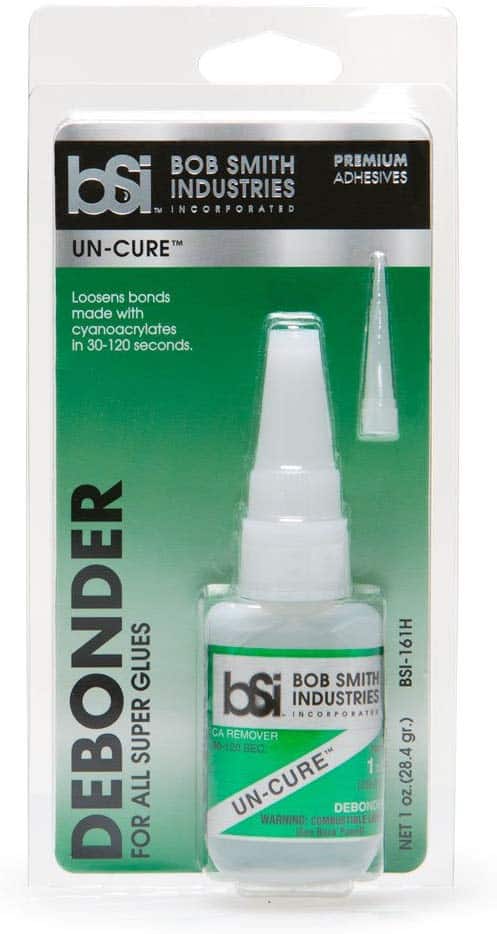
Superglue will help you build faster and fill gaps and sink marks. It’s very strong and will bond skin to almost anything in seconds so never use it unless you have a bottle of debonder close by.
Using a single-action airbrush will let you custom mix paint colors and will give you a smoother finish than a spray can. The polishing kit and wax will give your model a better shine.
Paint jobs turn out pretty well using spray cans but there is a lot of room for improvement. A helpful next tool upgrade would be a single action airbrush as it’s good to always be looking for ways to improve.
Model Kit Tools For Advanced Builders
- Pin vise
- Clamps
- Plier set
- Extra hands stand
- Detail files
- Magnifier lamp
- Headset magnifier
- Spray booth
These tools are all very handy for the advanced builder who takes his modeling seriously. It still isn’t a big investment for the many hours of enjoyment modeling brings.
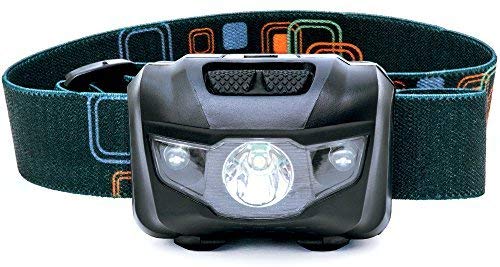
A magnifier lamp and headset is very handy if you’re planning to do a lot of intricate detailing or just need a closer look at the small parts your painting. These are very valuable when holding small parts for painting, trimming and gluing.
A pin vise and extra hands stand come in very handy when two hands are not enough.

Consider buying a vented spray booth for your modeling room. Such booths can be bought for around $100 for a good basic model on Amazon and other stores. They will protect you and your family from potentially harmful vapors when you’re painting.
Now that you have your tools organized, you’ll need a good place to set up shop. Put a workbench in the basement, a spare bedroom, or in a corner of the garage. Make sure you have plenty of light, fresh air, and a comfortable chair. Paint and cement spills can ruin tabletops and carpeting pretty quickly so be sure it’s an area that this won’t matter.
All of the items listed in these three levels are easily obtainable at most hobby shops and online stores. They will make your modeling experience much more enjoyable and safer. Happy Modeling!
| Type of Painting | Pros | Cons | Skill Level | Approx. Costs |
| Fine Point Brush | Inexpensive | Not Smooth, Tedious | Easy | Starter Kit $25.00 |
| Spray Can | Inexpensive | Odors, Toxic | Medium | $4 to $8 Per Can |
| Airbrushing | Expensive for Good Equip. | Odors, Toxic | Medium to Hard | $150 For a Starter Kit |
| Paint Washes | Medium expensive | Can Have Toxic Odors | Medium to Hard | $30 to $40 For a Wash Paint Kit |
Related Questions
What is the difference between enamel and acrylic paint? The main difference between enamel and acrylic paint comes from the fact that enamel paint is mainly oil-based and acrylic paint is water-based. Enamel can take from 6 to 24 hours to dry while acrylic dries much faster. Acrylic paint has a matte finish look and enamel paint will have a glossy look. Acrylic paint is water soluble for easier clean up.
Can you use super glue on models? Superglue is widely used by hobby modelers as it is very strong and widely available. It is great at bonding just about anything including dissimilar materials like plastic to metal or metal to metal.
Do you need to prime a plastic model before painting? Yes, but be sure to wash the parts first. The mold release agents on the plastic will keep the primer from sticking, just as lack of primer will make the paint not bond as well as it should.
