
Is painting our model kit pieces with primer truly important, or are we just adding an unnecessary step to the building process? This is a hotly debated topic among modelers, so let’s dig in and examine the facts.
Here are the five most important reasons for using primer on your models:
- Primer improves the adhesion of the color coat.
- Fewer coats of color are needed when using primer.
- Primer helps you spot defects in the plastic.
- Primer creates the proper shade under the color coat.
- Primer prevents the color coat from cracking.
Does Primer Improve The Adhesion Of The Color Coat?
Absolutely! Primer adheres to the plastic surface of your model much better than the color coat alone. It also provides an ideal surface for the color coat to grip, improving durability.
If you spray the color coat directly onto bare plastic, it’s more likely to rub off with handling. However, a light coat of primer helps ensure that the paint stays put without obscuring fine details.
Even if you meticulously clean your model before painting, there’s always a chance that some oils or dust remain. While it’s always best practice to wash your parts first, primer offers an extra layer of protection by adhering well even if the surface isn’t perfectly clean.
Do Primed Model Parts Require Fewer Coats of Color?
Yes! Priming your model kit parts before painting reduces the number of color coats needed. Primer provides a slightly rough texture, helping the color coat adhere more evenly. This not only saves paint but also minimizes the risk of runs and drips caused by applying thick layers of color.
Using primer results in a smoother, more professional finish. I’ve personally noticed fewer paint runs when I apply a couple of light primer coats before adding color.
This is especially important for small, detailed areas like interiors, cockpits, and engine parts. Thick color coats can obscure intricate details like door handles, speedometers, and other fine elements. A good primer layer helps maintain these details while achieving full color coverage.
Will Primer Help Show Defects In Model Kit Plastic?
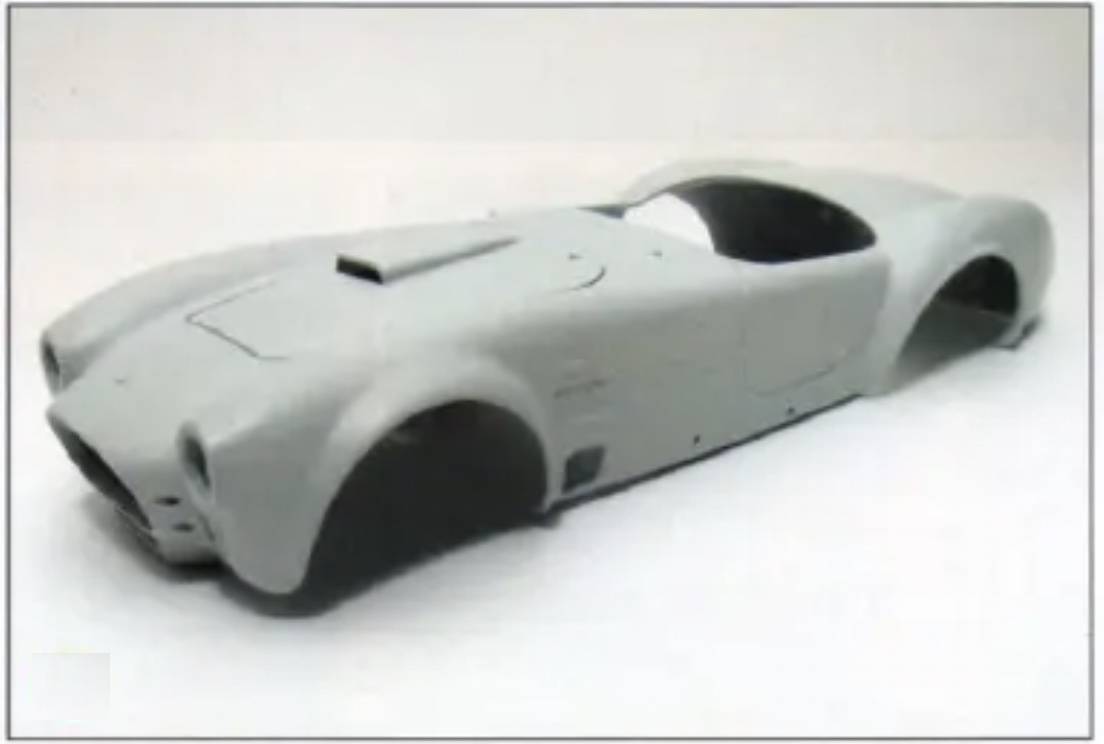
Spraying your parts with a light coat of primer will allow you to see many of the imperfections in the parts that you normally may not notice. There are small ridges and also the areas where the parts were connected to the sprues that show up much better with a light coat of primer.
Try spraying primer on half of your parts and not on the other half. Now put them under a magnifying glass and look for all of the little imperfections. You will be surprised at the difference you will see in the primered verses the non primered pieces. There are tiny ridges and little rough areas where you removed the part from the sprue..
After your first light coat of primer scrape the imperfections you find under the light and give it another light coat. You will be pleased with the results.
How Does Primer Affect the Shade of the Color Coat?
The color of your primer plays a key role in how your final paint job turns out. Using the right primer shade prevents unwanted color shifts and ensures good coverage.
- Black primer is best for dark colors and metallic finishes.
- Gray primer works well for medium to light colors.
- Brown primer is ideal for reds, helping them appear richer and more vibrant.
Matching your primer to your topcoat color reduces the number of layers needed. For example, spraying black over a white primer may require extra coats for full coverage. Likewise, painting white over black primer will be a struggle. Using brown primer under red shades enhances the vibrancy of the final coat.
Matching your primer to your topcoat color reduces the number of layers needed. For example, spraying black over a white primer may require extra coats for full coverage. Likewise, painting white over black primer will be a struggle. Using brown primer under red shades enhances the vibrancy of the final coat.
Can Primer Prevent Enamel Paint from Cracking?
Yes! A properly applied primer layer enhances the durability of your paint job, helping prevent cracking, chipping, and peeling over time. It also seals the plastic, reducing the risk of adhesion issues caused by residual oils or dust.
Primer is specifically formulated to bond with plastic, unlike topcoats, which are designed for color and finish. That’s why investing in a high-quality, name-brand primer is always worth it.
If you’ve ever seen older models that weren’t primed, you may have noticed fine cracks forming in the paint. Over time, especially with exposure to sunlight, these cracks become more apparent. Using primer helps ensure your model’s paint job remains intact for years to come.
| Using Primer Pros | Using Primer Cons |
| Improved Adhesion for Top Coat | Extra Time |
| Use less Color Coats | Extra Expense |
| Help Find Defects in Plastic | Extra Mess |
| Better Undercoat Color for Top Coat | |
| Makes Color Coat Last Longer |
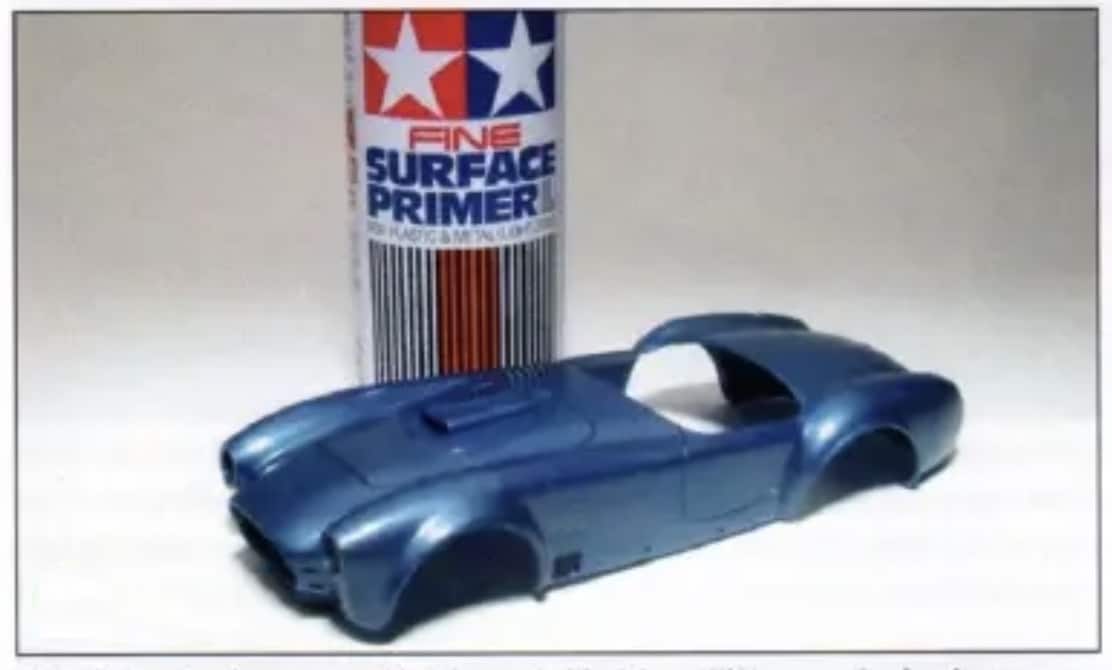
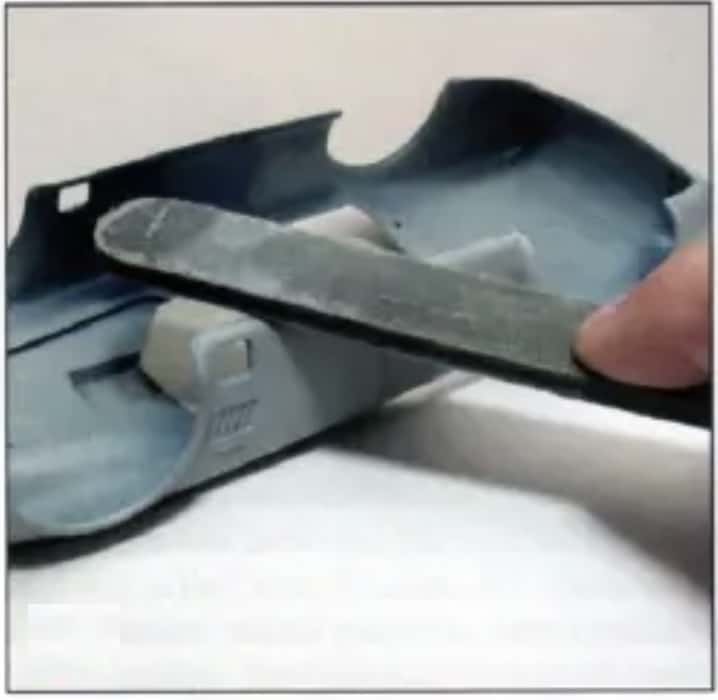
it, you still might be able to see the blue plastic appear through the primer.
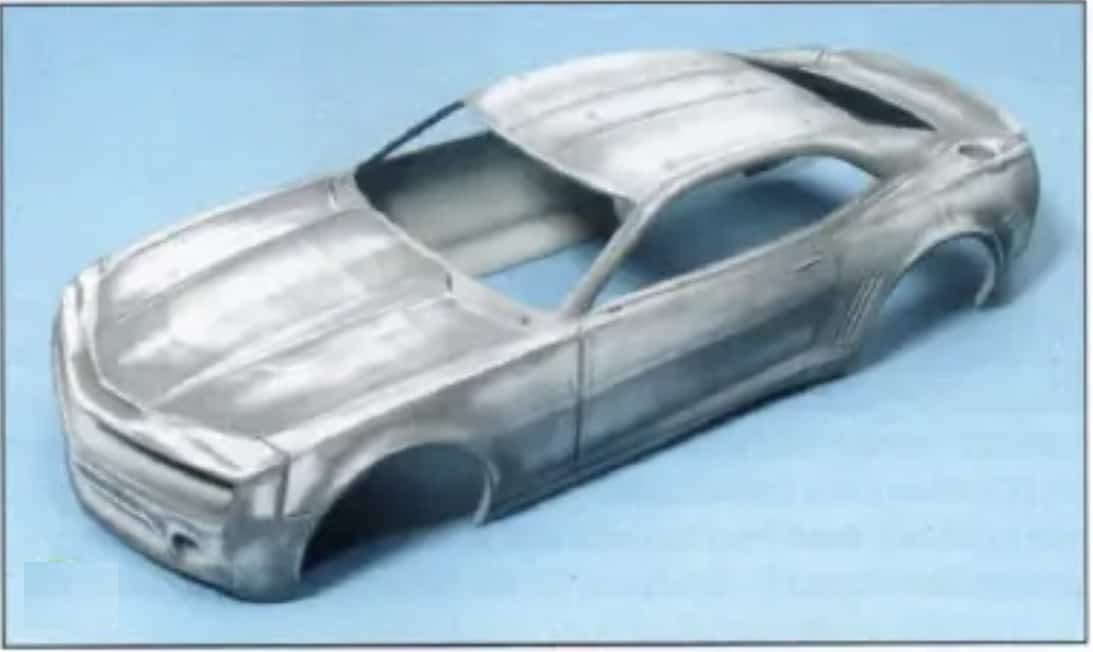
body. A dark primer was applied over light gray primer. When the body was
sanded smooth, the low spots were filled with black, and the higher spots
were light gray. Subsequent coats of primer yielded an even surface.
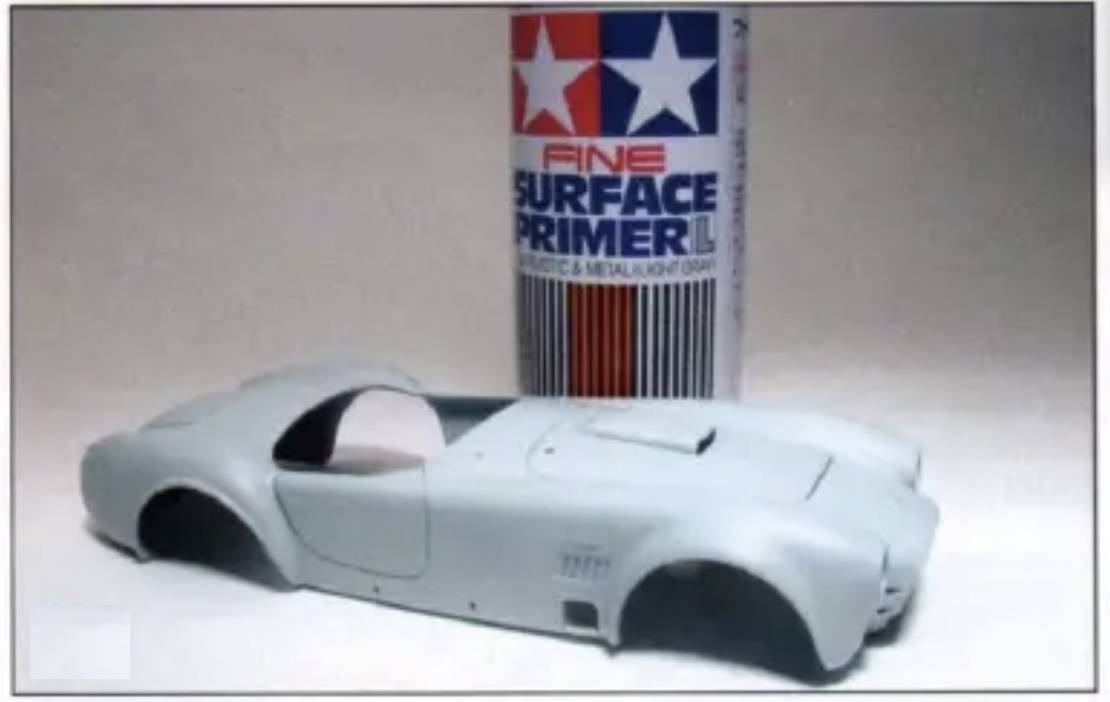
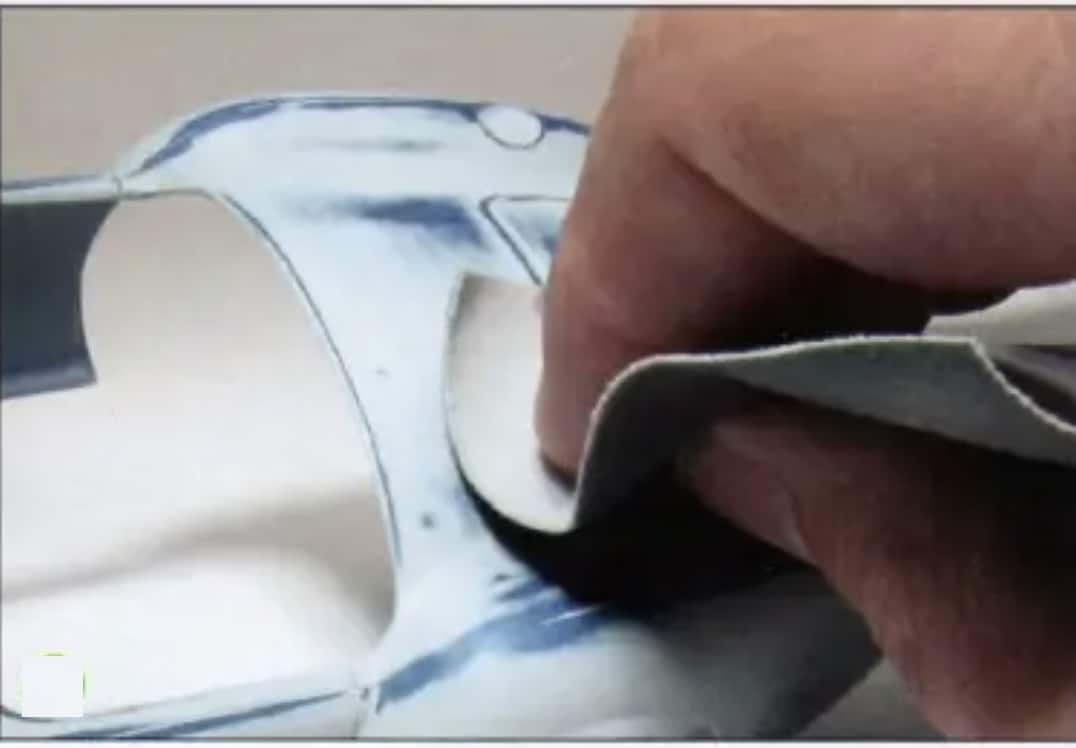
tools, wet-sand the entire body with 2400-grit Micromesh cloth. 600-
to 800-grit wet-or-dry sandpaper works well too.
smooth and blemish-free.
Final Thoughts
While some modelers skip priming to save time, the benefits far outweigh the extra step. Using primer improves paint adhesion, reduces the number of color coats needed, reveals imperfections, enhances color vibrancy, and prevents cracking.
If you want a professional-looking, long-lasting finish, primer isn’t just an optional step—it’s an essential one. Happy Modeling!
Related Topics
Airbrush trouble shooting:
- Sputtering is caused by too low of air pressure.
- Orange peel affect is caused by low pressure or holding the sprayer too far back.
- Running paint is caused by simply applying too much paint or painting too close. Avoid this by spraying more thin layers.
- Clogging the tip is caused by too thick of paint. Thin it so it flows better.
Spray can trouble shooting:
- Pebbly, rough finish is caused by spraying from too far away. Move closer.
- Runs and drips are caused by too much paint, either because you sprayed from too close or for too long in the same spot. Move back and keep the can moving when you spray.
- “Fish eyes” or paint pulling away from areas is caused by surface contaminants pushing through or repelling the paint. Clean the model thoroughly before painting.
Some Of My Favorites

Source: Bob Downie, Building Better Models, Feb 2011