
How do you apply water slide decals to your model? Follow these steps:
- Apply clear gloss on model
- Cut out your decal
- Soak decal in water for 10-20 seconds
- Use tweezers or cotton swab to slide decal onto model
- Dab decal with towel to soak up water
- Let the decal dry thoroughly
- Apply coat of clear gloss to surface
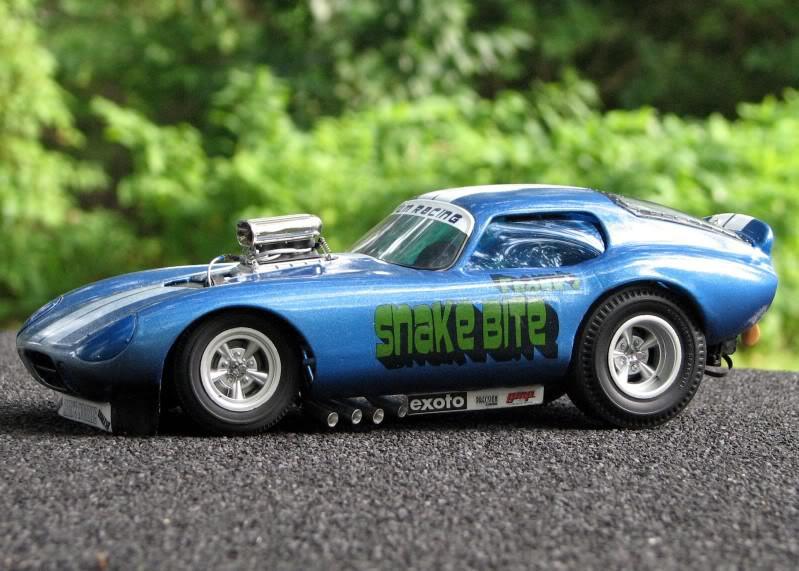
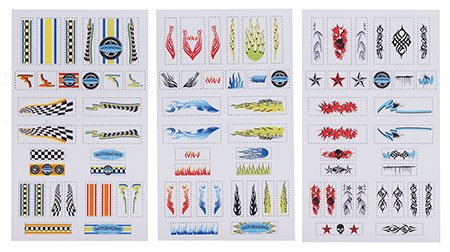
Most skill level 1 model kits have self adhesive decals, while skill level 2 thru level 5 model kits come with at least one sheet of water slide decals. Some will even have more than one set of decals to choose from. Whether you want to enhance military model markings or dress up a hot rod, chances are you’ll use some of them. Decals provide a nice touch of color, detail, and authenticity to your model.
Water slide decals are thinner than many other decorative techniques (such as vinyl stickers) and as they are printed, they can be produced to a very high level of detail. As such, they are popular in craft areas such as scale modeling.
wikipedia
Applying decals to your finished model can be a little tricky at first. Follow along and we’ll show you how easy it can be to apply decals like a pro.
Self Adhesive Decal Types On Models
Generally in your level 1 model kits you get the type of self adhesive decals that you will need to cut out of the sheet. These are easy to apply with the biggest challenge being getting them in the correct position on the first try.
There are two types of self adhesive decals that can come in a model kit, the “wet” type and the self adhesive “sticker” type.
The ‘Wet” type of self-adhesive decal is a little uncommon and should not be confused with water-slide decals or vinyl self-adhesive decals. Wet self-adhesive decals have adhesive on the rear of the decal, which when wet with water, allows the decal to be moved into the correct position before carefully wiping away any excess water.
Both of these types of decals are easy to apply. You carefully cut them from the sheet and lay them onto the clean surface. It is important to have a clean surface so your decal will lay perfectly flat.
What Are Water Slide Decals On Model Kits?
Water slide decals are quite common, and are made up of the decal, a water-soluble adhesive, and backing paper. Upon immersion in water, the decal literally slides off the backing paper, allowing you to apply it to the surface of your scale model with relative ease.

This type of decal is by far the most popular way of applying graphics to scale models. This is partly because most model kits are supplied with correctly detailed water-slide decals, but also because they will work very well in most situations and you can easily learn how to apply them with a little practice.
As these are the most common and sometimes more tricky to apply type of decals we will go thru the application process in the next few paragraphs.
Essential Decal Tools
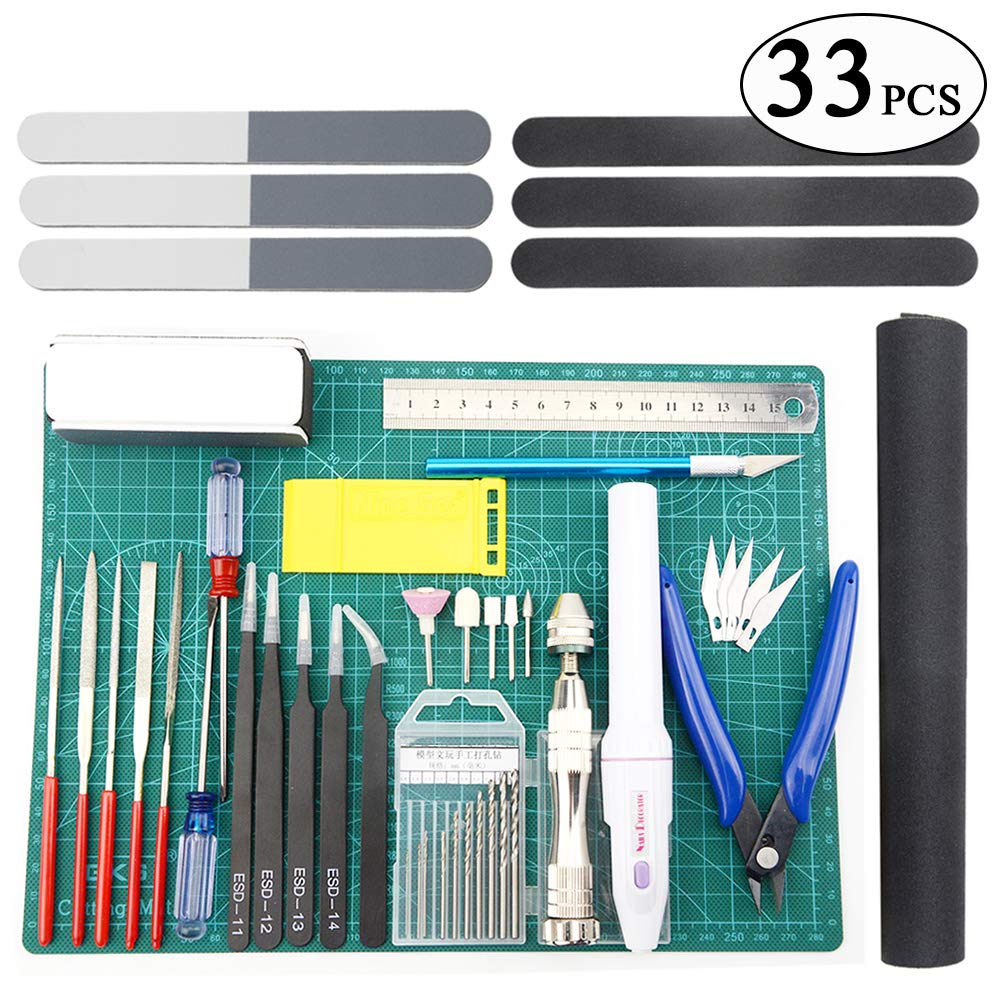
Before you apply decals, you’ll need to have your work area cleared and all the necessary tools on hand. Here is a list of the tools you’ll need:
- Sheet of decals
- Scale model you will apply decals to
- Cutting mat
- Bowl of water
- Dishwashing liquid / soap
- Decal solutions x2 – one for beneath the decal, and one for on top once it has been applied
- Sharp pair of scissors
- Hobby knife
- Small paint brushes x2
- Tweezers
- Lint free cloth
- Paper towels
- Varnish or Klear (a modeler’s favorite brand of adhesive )
- Two small paint brushes


Preparing The Model Surface For Decals
It is very important to have a gloss or semi-gloss surface to apply the decals. If the model is painted with matte or flat paints, then the surface needs to have a couple of thin coats of gloss varnish, or Klear to give it some shine.
A matte or flat paint will leave the surface very slightly rough. If a decal is applied to such a surface then it only makes contact with the high points on the surface of the paint. When it dries there will be thousands of tiny air pockets under the decal which will appear as what is called ‘silvering’ and will not give it the desired finish.
While it is okay to place decals directly to the glossed surface, many modelers prefer to apply a bit of setting solution.
The glossier you make the area for the decal the better, because the smoother the area is the better the decal will lay down.
Apply The Water Slide Decals


1. Cut the first decal from the sheet using a sharp hobby knife or scissors.
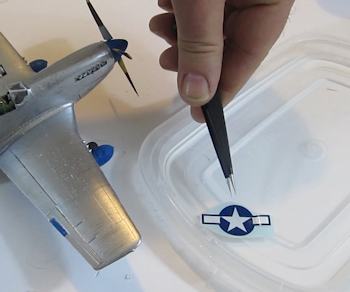
2. Using the tweezers, put the decal on the surface of the water, it will probably curl or sink but that is okay.
3. Pick the decal from the water using the tweezers and leave it on a paper towel to drain any excess moisture off of the decal.
4. Using a clean paint brush, paint the first decal solution onto the scale model on the area where you intend to lay the decal.
5. Using the paint brush, guide the decal off the backing paper and onto the area you just applied the decal solution to on the model. If needed you can use the brush to position it correctly. To avoid damage to the decal, pull the backing sheet away from the decal rather than moving the decal too much.
6. When you are satisfied with the position of the decal, you can dab a paper towel on the decal to soak up any excess water.
7. This is often enough to keep the decal set in its place, but if you feel it is necessary you can use another clean paint brush to apply a second coat of decal solution on top of the decal. This will set it firmly in place.
8. Now its important you leave the decal to dry.
9. To completely seal the decal you can now apply a thin layer of Klear or varnish, then allow it to completely dry.
10. You can repeat the above steps for each new decal after the previous has dried.
How To Fix Any Problems With Model Kit Decals
Sometimes you may get a bubble or a little color may show through the decal. Here are a few solutions to help with these problems:
- If the decals have to fit around uneven areas, cut them into smaller pieces and apply them one at a time.
- If you see bubbles appear on the decals prick them with a pin or the tip of your hobby knife then apply more setting solution.
- If the decal starts looking wrinkled, whatever you do don’t touch it. There isn’t anything you can do at this time. Let it dry and the wrinkles should be minimized or go away.
Final Thoughts
When applied correctly your decals can really take your model to the next level. Perfecting this process really sets off your work. Use the steps above and just get a model and start doing it. Sometimes its good to have an extra model car body or an airplane fuselage to have as a practice piece for all the different types of painting and decals you want to do. Always remember practice makes perfect.
Happy Modeling!
For a few more decal tips, check out 6 Best Tips for Applying Decals
Related Topics
Why do we like to make models? A model represents something that is important to us in some way. The car we had in high school, a ship from a historical era that we are interested in. Models are a way to learn of history, to recreate a memory of something we had, or just a way to express our artistic abilities.
What are some benefits of building models?
- Skill development
- Stress release
- A rewarding feeling of accomplishment
- Chance to be an artist