
If you’re new to model building and want to start off on the right foot, these 10 tips will help make the process more enjoyable and ensure success with your first kit.
1. Choose the Right Model for Your Skill Level
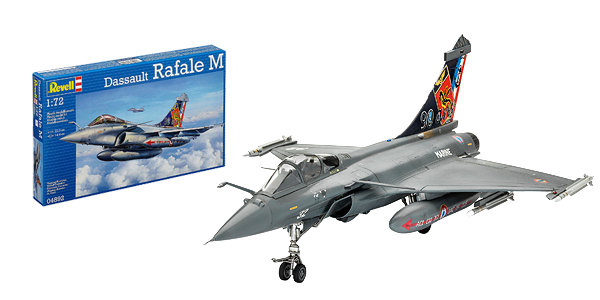
Model kits are rated by difficulty, from Skill Level 1 to 5. For your first build, start with a Skill Level 1 kit that features a subject you’re genuinely interested in—whether that’s classic cars, military tanks, airplanes, or sci-fi models like an X-Wing Fighter.
As you gain confidence, move up to Skill Level 2, where kits include more parts and require some painting and glue.
If you’re unsure which model to start with, visit your local hobby shop. The staff can offer great advice on beginner-friendly kits and essential tools.
If you love airplanes build an airplane, if you love Star Wars, build an X-Wing Fighter. The process is much more fun when you’re working on something that interests you.
| Model Kit Details | Skill Level 1 | Skill Level 2 | Skill Level 3 | Skill Level 4 | Skill Level 5 |
| Recommended Age | 6 and up | 10 and up | 12 and up | 14 and up | 14 and up |
| Painting Required | No | Yes and No | Yes | Yes | Yes |
| Glue Required | No | Yes and No | Yes | Yes | Yes |
| Number of Parts Approximately | Up to 50 | Up to 100 | 100 to 150 | 150 to 300 | Unlimited |
| Type Of Decals | Peel & Stick | Water Slide | Water Slide | Water Slide | Water Slide |
The Most Challenging Model For Beginners
The first model you build as a beginner will be the most challenging. It’s all new to you so it’s important to closely follow the instructions. The picture on the box is a perfect example of what it should look like when finished so try to make yours as close to that as possible.
2. Follow the Instructions Carefully
Your model kit will come with step-by-step instructions, usually numbered in sequence. Before you start assembling, read through the guide to get an overview of the process.
Each part is numbered, and these numbers correspond to the sprue, the plastic frame holding the pieces. Check carefully before gluing—some parts look very similar, and assembling the wrong one can lead to frustration.
A common mistake for beginners is skipping ahead, only to realize later that parts don’t fit properly. Stick to the build sequence, and you’ll save yourself from headaches down the line.
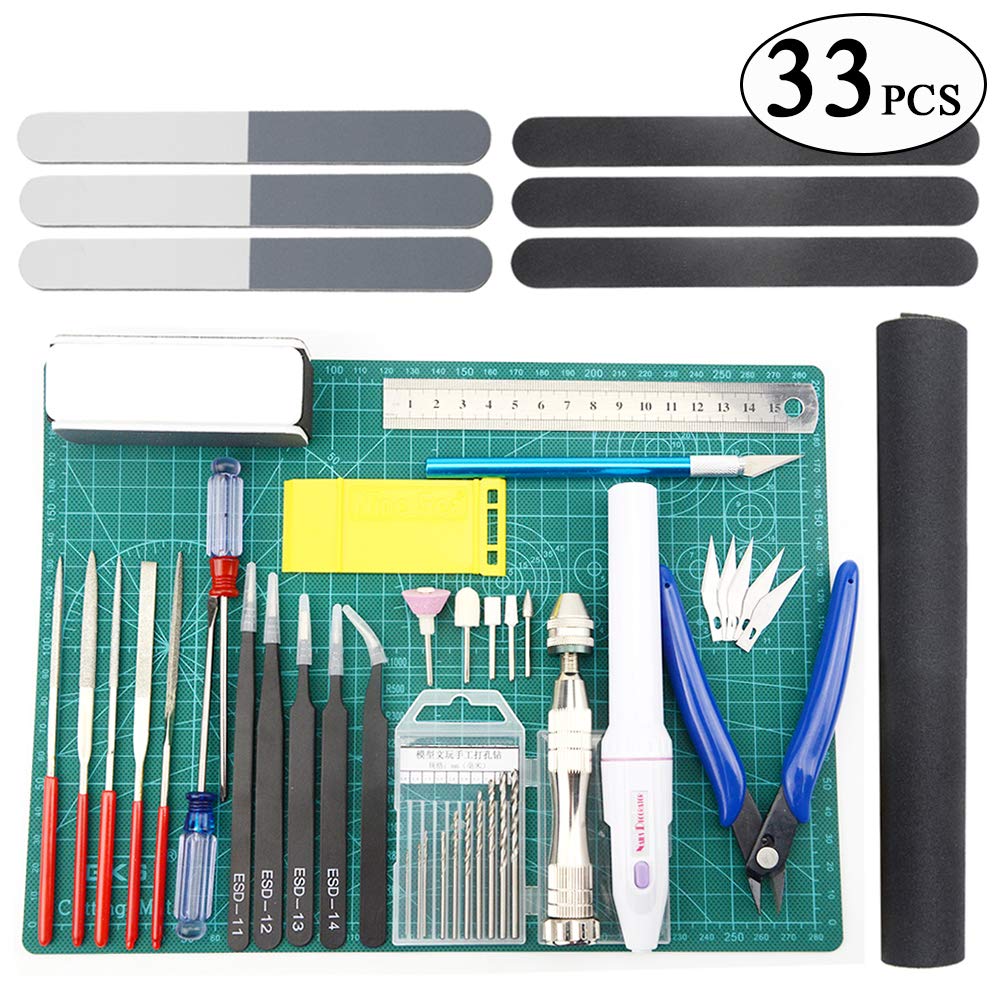
3. Invest in Basic Model Building Tools
You don’t need a full workshop to get started, but a few essential tools will make the process smoother:
- Side cutters – The best tool for removing parts from the sprue without damaging them.
- Hobby knife – Helps trim excess plastic and clean up small details.
- Small file or sanding stick – Smooths away rough edges.
- Tweezers – Useful for handling small parts and decals.
You can find a beginner tool kit online or at hobby stores for around $15-$20.
Here is a Gundam Brand tool kit that will be very helpful for you to get started. You can always add more tools as needed.
4. Always Cut, Never Twist
Avoid the temptation to twist parts off the sprue—this can cause damage or leave rough edges that affect the fit. Instead, use side cutters for a clean cut.
If you use a knife I recommend using a cutting mat as this protects your work surface and keeps knife blades sharper for longer.
When snipping, double check that you’re not cutting off a portion of the actual part as quite often there are protruding tabs to allow them to join to other parts. Avoid the temptation to twist parts off the sprue—this can cause damage or leave rough edges that affect the fit. Instead, use side cutters for a clean cut.
If needed, use a hobby knife to trim any extra plastic, and smooth the edges with a small file.
| Glue Brand | Pros | Cons | Best Use For | Rating |
| Tamiya Extra Thin | Fine Tip Brush | Strong Odor | All Plastics | #1 |
| Testors Tes3501 | Inexpensive | Tube is Messy | All Plastics | #5 |
| Mr Cement S | Cures Quickly | Thick Brush Applicator | All Plastics | #2 |
| Revell Contacta Professional | Needle Applicator | Glue May Fry In Applicator | All Plastics | #4 |
| Micro Crystal Clear | Drys Clear | Expensive | Clear Windshield And Wood | #3 |
5. Use the Right Glue and Apply It Sparingly
For plastic model kits, you’ll need special model glue, not just any household adhesive. Popular options include:
- Testors Model Glue – A classic choice for beginners.
- Tamiya Extra Thin Cement – Great for precise application.
- Revell Contacta Professional – Has a fine applicator tip.
Apply a small amount of glue to the mating surfaces, then press the pieces together lightly. If excess glue seeps out, let it dry before sanding it off. Less is more—too much glue can warp the plastic or create messy streaks.
If you get some glue where it shouldn’t be, just let it dry and sand it or file it off later. You will learn as you build more models how small an amount it takes to hold two pieces of plastic together.
Always have good ventilation when gluing.
6. Plan Your Painting Strategy
Before you start painting, think about:
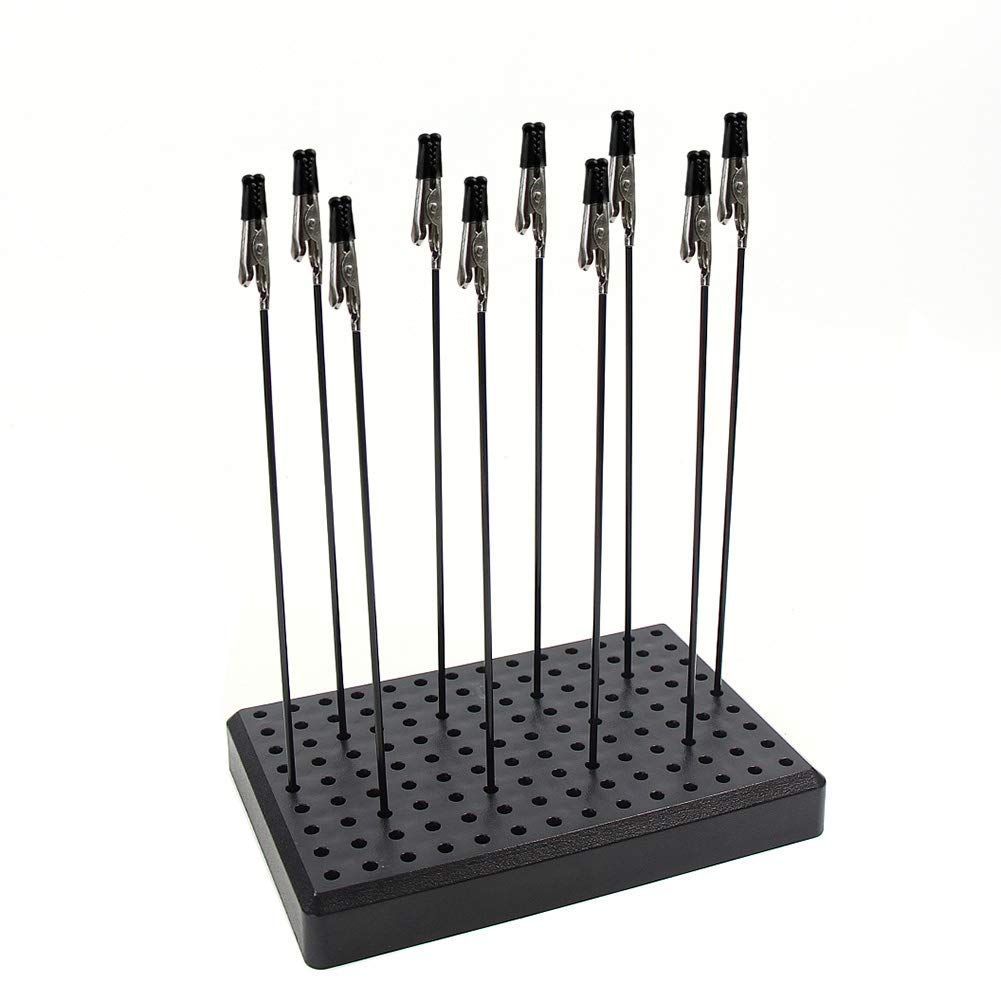
- How you’ll hold the parts – Use tweezers, toothpicks, or clips to avoid smudging wet paint.
- Where to place them to dry – A clean, dust-free area is ideal.
- When to paint – Some parts are easier to paint before assembly.
You can either:
- Paint parts while they’re still on the sprue, then touch up any bare spots after assembly.
- Assemble first, then paint – Good for larger models.
Avoid getting paint on areas where glue will be applied, as it can prevent a strong bond.
You can make holders for yourself, for example using clothes-pins, and tooth picks pushed into foam or cardboard work well.
Here is a handy painting stand from Evemodel:
7. Clean Parts Before Painting
Before painting, wash all parts with mild soapy water to remove oils, dust, and fingerprints. Rinse thoroughly and let them air dry.
If you’re using a spray can or airbrush, practice on scrap plastic first to get a feel for the technique. Use smooth, even strokes, and apply thin layers rather than one heavy coat.
It is advisable to practice your painting technique on the interior of the components that wont be seen on the finished model, or on some waste plastic material.
| Type of Painting | Pros | Cons | Skill Level | Approx. Costs |
| Fine Point Brush | Inexpensive | Not Smooth, Tedious | Easy | Starter Kit $25.00 |
| Spray Can | Inexpensive | Odors, Toxic | Medium | $4 to $8 Per Can |
| Airbrushing | Expensive for Good Equip. | Odors, Toxic | Medium to Hard | $150 For a Starter Kit |
| Paint Washes | Medium expensive | Can Have Toxic Odors | Medium to Hard | $30 to $40 For a Wash Paint Kit |
8. Spray Paint vs. Airbrush
For beginners, spray cans work well and provide a smooth finish. They’re great for large surfaces but can be wasteful for small details.
Airbrushes offer more control and are cost-effective in the long run if you mix your own paints. They’re ideal for:
- Pre-shading for a realistic look.
- Painting small details without masking an entire part.
- Achieving weathering effects for added realism.
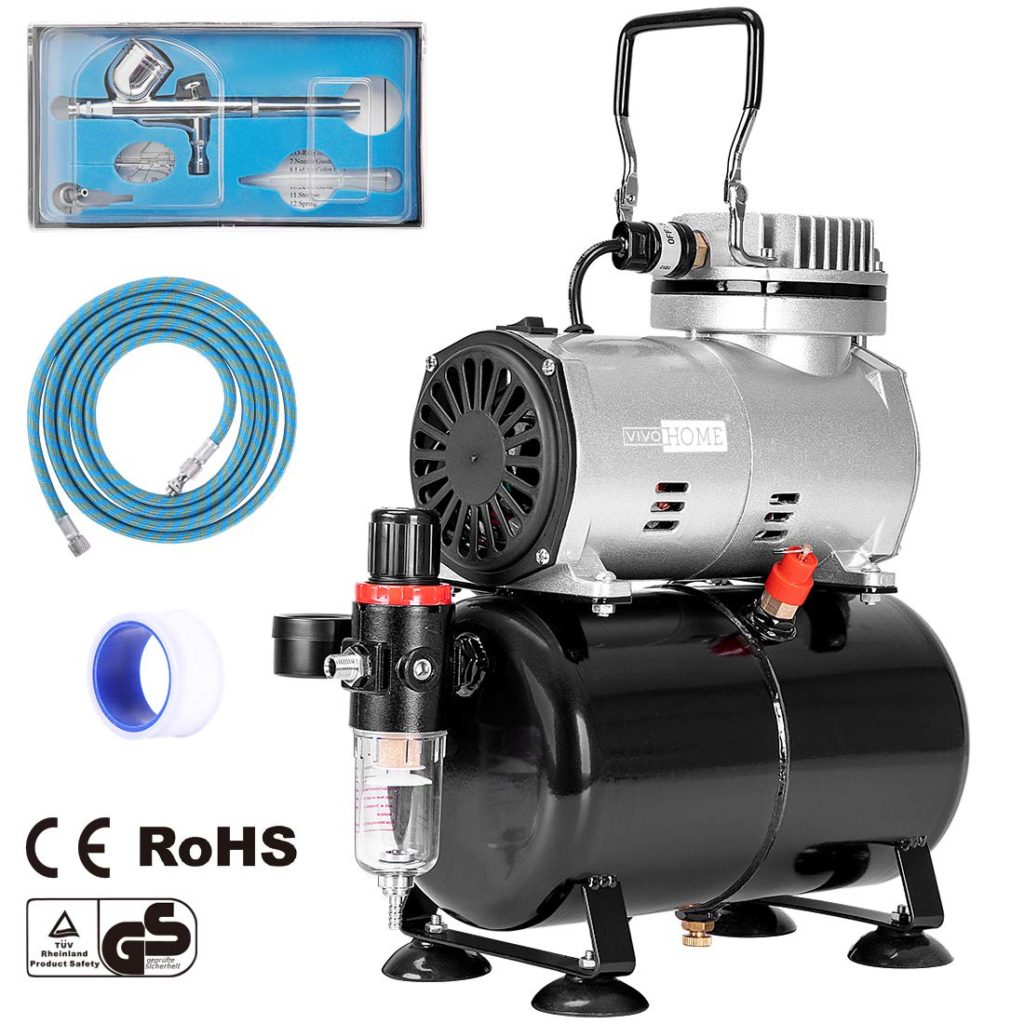
Heres a typical starter airbrush kit from Vivohome on Amazon for a beginning modeler. You can spend a lot more or a little less but this will fill your needs.
9. Applying Decals the Right Way
Decals add authentic details to your model, such as insignias, trim lines, and vehicle markings. To apply decals:
- Cut out the decal with scissors.
- Dip it in warm water for a few seconds.
- Let it rest on a paper towel for 15-20 seconds.
- Slide it onto the model using tweezers or a damp paintbrush.
- Blot away excess water with a paper towel and let it dry completely.
For a seamless look, apply a gloss clear coat before decaling and a matte or satin finish afterward to seal them in place.
10. Be Patient—Practice Makes Perfect!
Your first model won’t be perfect, and that’s okay! The more you build, the better your skills will get. Enjoy the process and have fun learning along the way.
Building model kits is a rewarding hobby that combines creativity, craftsmanship, and patience. With these tips, you’ll set yourself up for success and have a great time bringing your first model to life!
Happy Modeling!
Related Topics
The 10 Best Model Airplane Kits
- Tamiya P-51D Mustang
- Revell Messerschmitt
- Miscy 3D Wooden
- Hasegawa F-22 Raptor
- Revell SR-71A Blackbird
- Tamiya Corsair Birdcage
- Revell B17G Flying Fortress
- Academy Stuka Tank Buster
The 10 Best Model Boat Kits
- Revell Constitution
- Tamiya America Battleship
- Academy Titanic Centenary
- Fascinations BB-63
- Revell LSM Landing Ship
- Artesania Latina Bluenose
- Metal Earth Queen Anne
- Revell T Boat